MiniArt have sent us a their kit of the latest 1/35th scale diorama in their series “Normandy Street” which has two tall buildings for a D-day (or + a few) diorama base. We investigate what comes in the box in our review…
Subject: Norman
Street
Scale: 1/35
Kit type: Vac form + Injection moulded
Kit type: Vac form + Injection moulded
Kit parts: 138
- BOX: 348x247x60 mm
Product Link: MiniArt Distributors
This newest of dioramas from MiniArt set follows their
regular ideology of kits for dioramas – rather than using ceramic or plaster
they use a thin plastic Vac-form construction that is more work to construct –
but once you get the hang of using their methods and a few tips that can help
construction the benefits of a cheaper price point and weight really do shine.

This kit comes in a large white and green box with
the very well painted diorama on the front with box art on the side showing the
constructed model – it looks pretty nice on the box – let’s look inside to see
what lies beneath.
The kit is comprised of three different sheets of
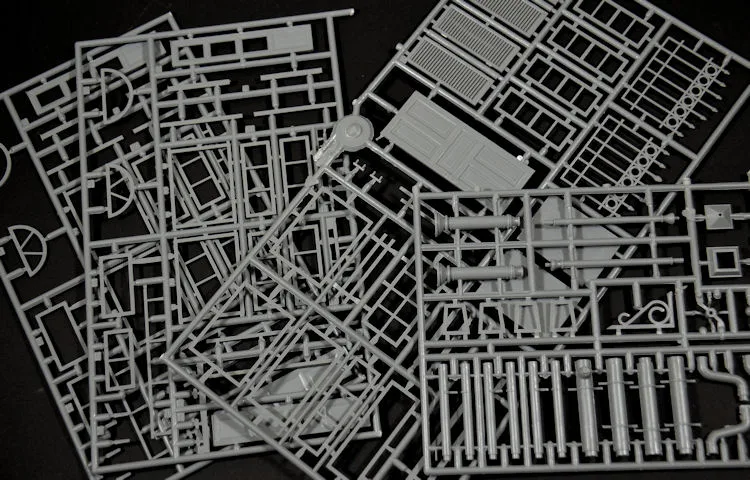
vac-form for the walls and structure and four injections moulded sprues for the
house and street furniture. There is an instruction sheet and at the bottom
rear of the sheet some wall signs to stick to your building. Let’s look at the
vacform first

The three large sheets of vacform are pretty daunting
to those new to this type of kits – but stick with me and ill let you in on a
few tips...

The first is – they just snap apart! When you simply
bend them carefully around the seams these just snap off – even the bent
surfaces come apart pretty easily – to test this method I just spent the last
fifteen minutes simply bending and snapping these off. I have used these before
– and cut them – well that is a fool’s errand when they just come apart so
easily.

The second tip I will give you is to simply visit the
MiniArt site – there are excellent walkthroughs of how to construct their
dioramas and these really help you understand how to get the best from this
style of kit. This is the link – it makes
for an inspiring little show to get you going.

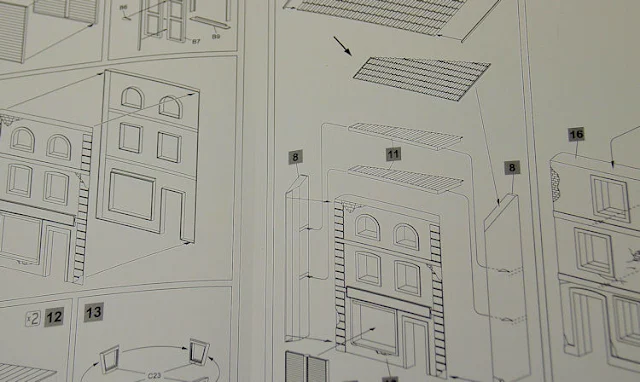
The instructions that come with the kit are easy to
follow and are all the simpler when you have the pictures and video from the MiniArt
site to back them up.
The textures of the walls themselves are very good
and the only fault on them are the lumps on the walls – which I thought were
rubble somehow stuck to a vertical surface – they are “technical ledges” and
need to be cut off the kit which they come off pretty easily. I like it that MiniArt
has made several cracks in the plasterwork and bare brick coming out from
underneath – this will help you weather and paint the lit a lot more
realistically. Five walls are nicely pockmarked and have lots of damage on
them; chipped plaster and bare bricks showing through make the buildings look
like they are suitably weary.


The base of the kit is on one sheet of vacform and
has the dimensions of 285mm x 216mm wide. The street base is a mixed pattern of
cobblestones going in separate directions which always ads some more interest.
There is also a wooden floor inside – six underfoot textures means that MiniArt
are progressing after some experience in vac-form and that they continue to get
better at this.
The roofs and the first floor texture looks pretty
nice – a few dots on these I think that simulate rocks or debris scattered
randomly or you can cut them off as per the wall spots. There are two different
tiles patterns for the roof that give both of the buildings a different look – I
liked this point very much and the depth and detail of each will weather up
really well.
The inside and outside floor textures are great!
Four sprues of styrene represent the window and door
furniture – shutters and doors are always interchangeable with other MiniArt
kits as well – most are the same size on these kits – There are square windows
and half arched window frames which again give some difference to the rectangle
window frames on the other building – I think it is great that these two
buildings look similar but unique to each other.


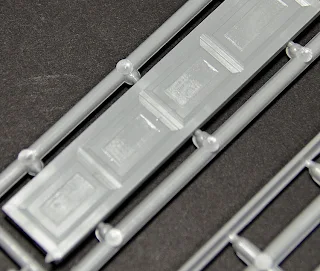
 The shutters are see-through at the right angle and
the doors have some very fine door wood texturing. The only thing I can find
wrong here is some injection circles on the inside of the door – most people
will not even see these as they are on the “hidden side”.
The signpost on the streetlamps will have paper signs
and the wall signs are present and in several different flavours and colours –
these will go on with some regular glue or superglue and there are the choices of
a signposted “Normandie” shop front or other less region-specific signs as well.
The street signs are present as well and add authenticity to your street – the ONLY
thing I think I would like to see is some variation in some of the signs which
have been used before – but then again you are given enough to take your pick
from the many here so that point is pretty easy to work around.
All in all this kit looks is a great base for your "Normandie" or even Northern European diorama - if you like this type of kit then this is a potential show kit for you!
Check
out the MiniArt site for all of their
releases forthcoming.
Here is the finished product on the MiniArt site – it shows how well these vac kits can look in a skilled modellers hands – MiniArt replicate wood very well in plastic and the extras like being able to look out from the inside of the kit and have figures stationed inside will be a great hidden bonus.


