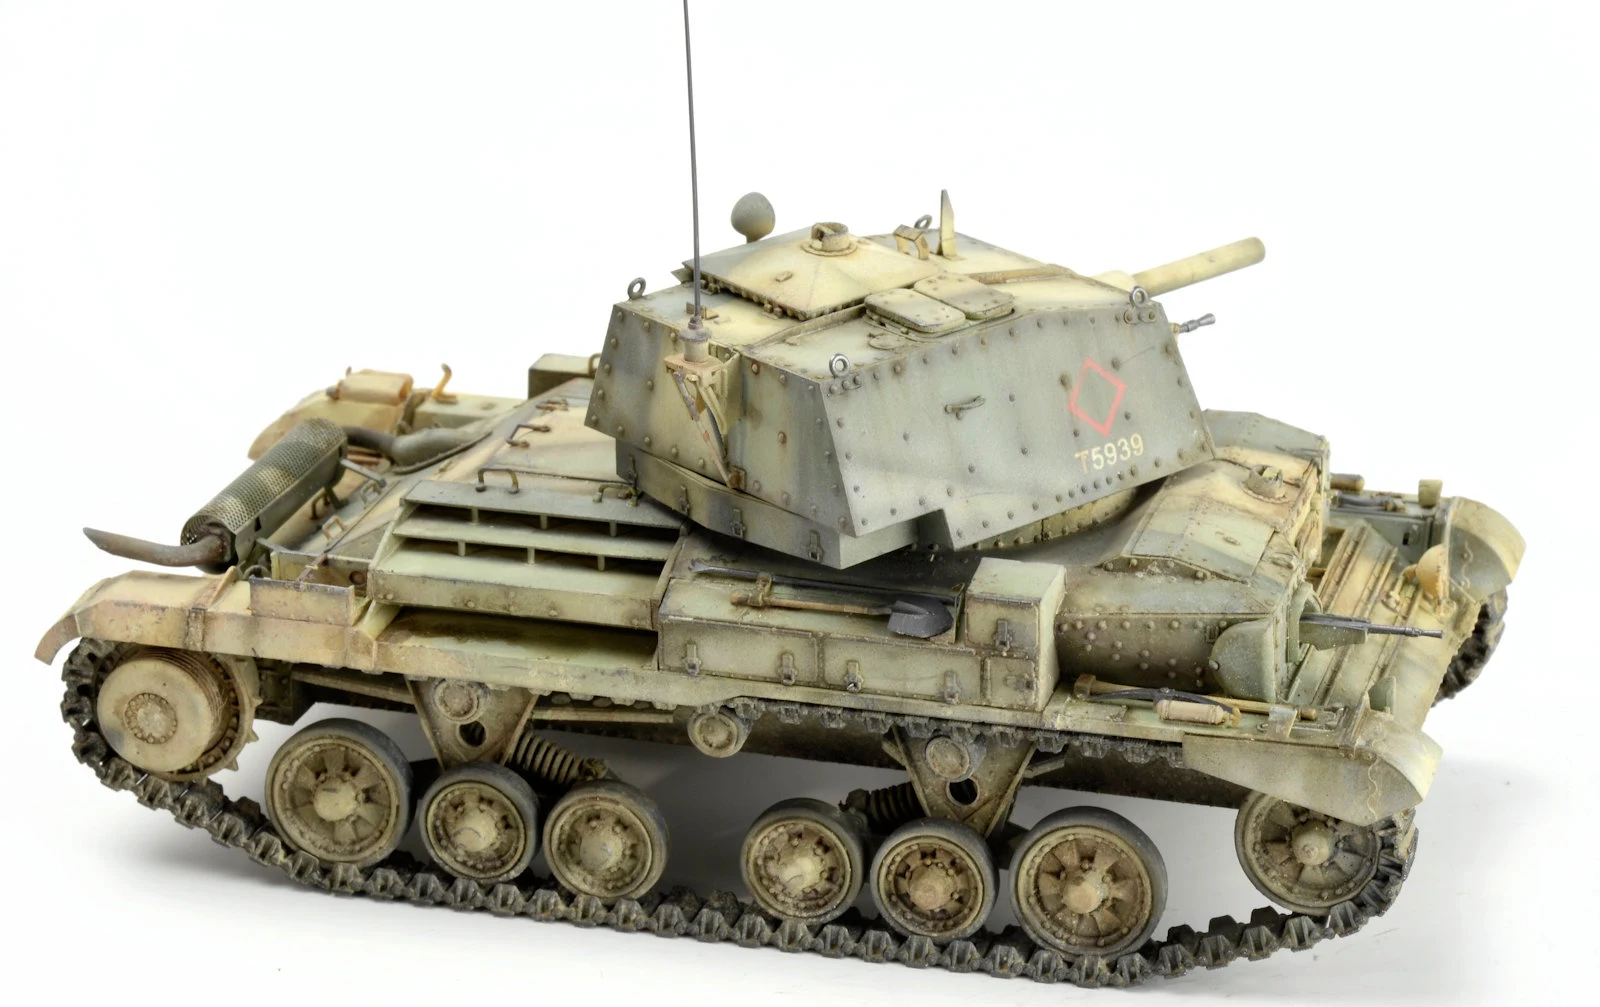
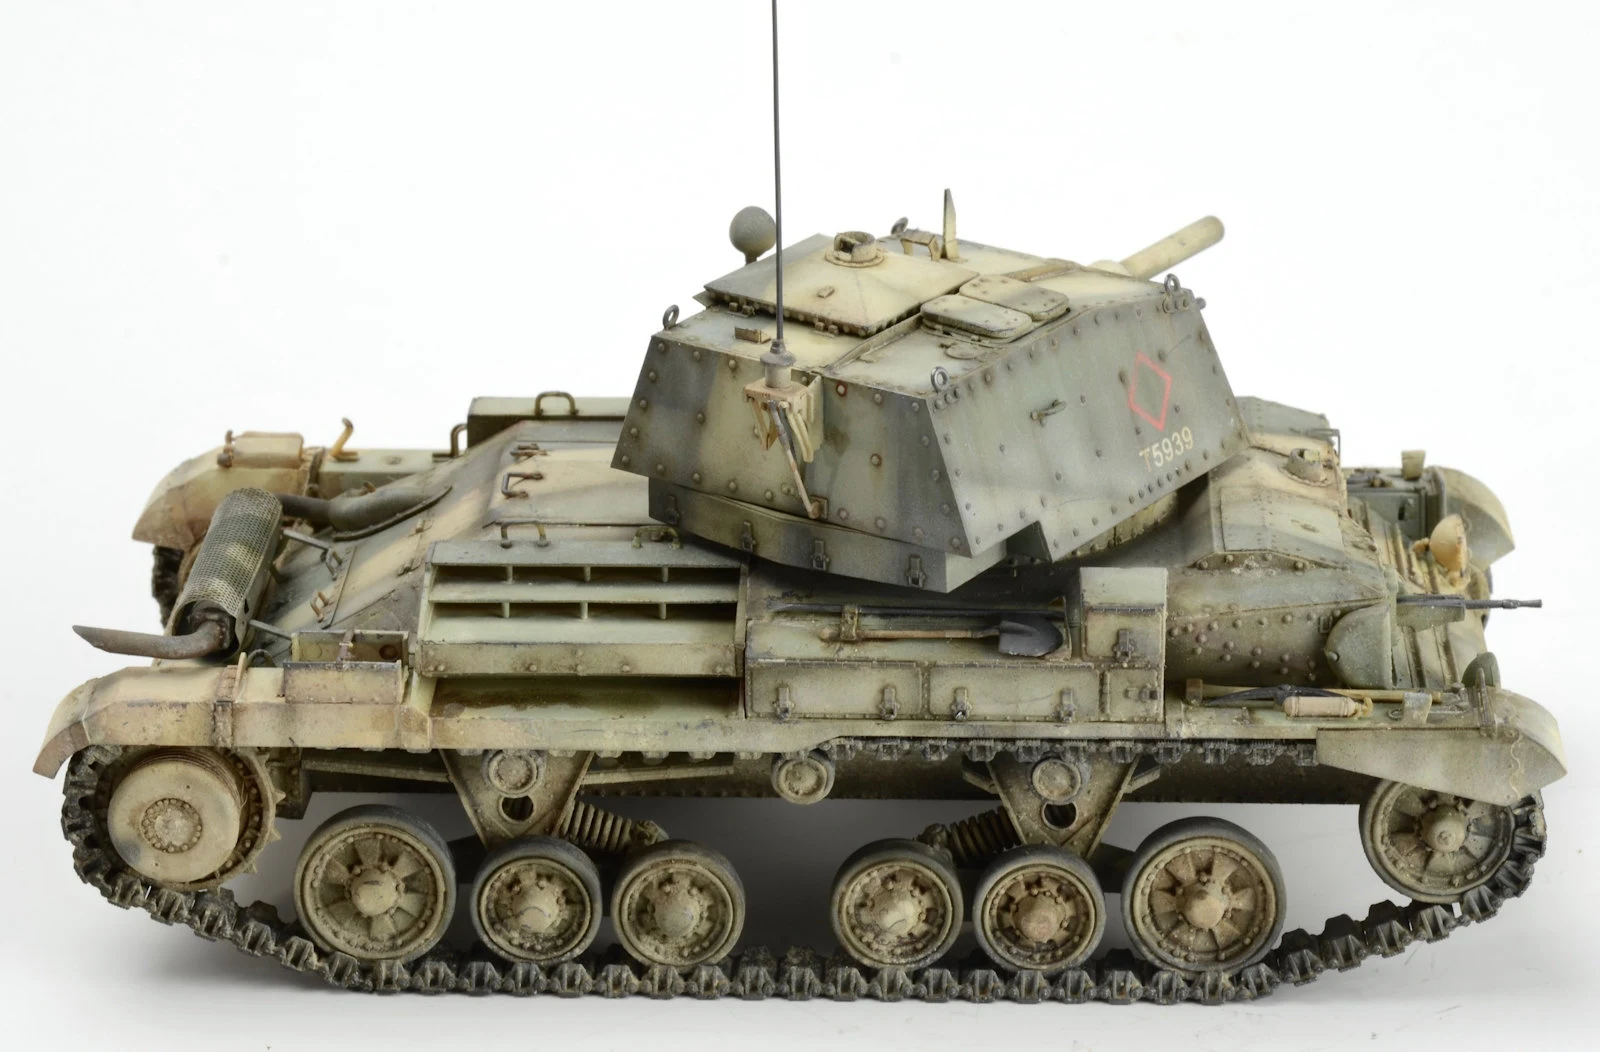
Clayton has arrived at the end of his build of Bronco Models has new 35th scale British Cruiser Tank. He has given us an inbox review and a build guide, but today we see it all come together really nicely in his painting & finishing guide...
Painting & Finishing guide: British Cruiser Tank Mk.II/IIA/IIA CS (A10 Mk.I/1A/1A CS)
from Bronco Models
Kit #CB-35150
1:35th scale
Plastic injection parts including transparent parts
Photo-etch parts included
Price: 5,100yen/ 44.97USD at 1999.co.jp
Product Link on the Bronco Models Website
Today: Pt III: Painting & weathering the Bronco Models Cruiser Tank Mk.II/IIA/IIA CS
Following on from my build review of the kit here are the next stages of my journey with the kit. I have to admit, other projects kept sneaking ahead of this for some reason. I tore through the build, and probably rushed a little into the paintwork, and didn’t think it through properly. I did lose a little momentum on the paintwork side of things. That said, once we crossed paths again, I found my mojo and started getting this little Cruiser over the line.
We left the build with the model primer in the Grey One-Shot Primer from AMMO
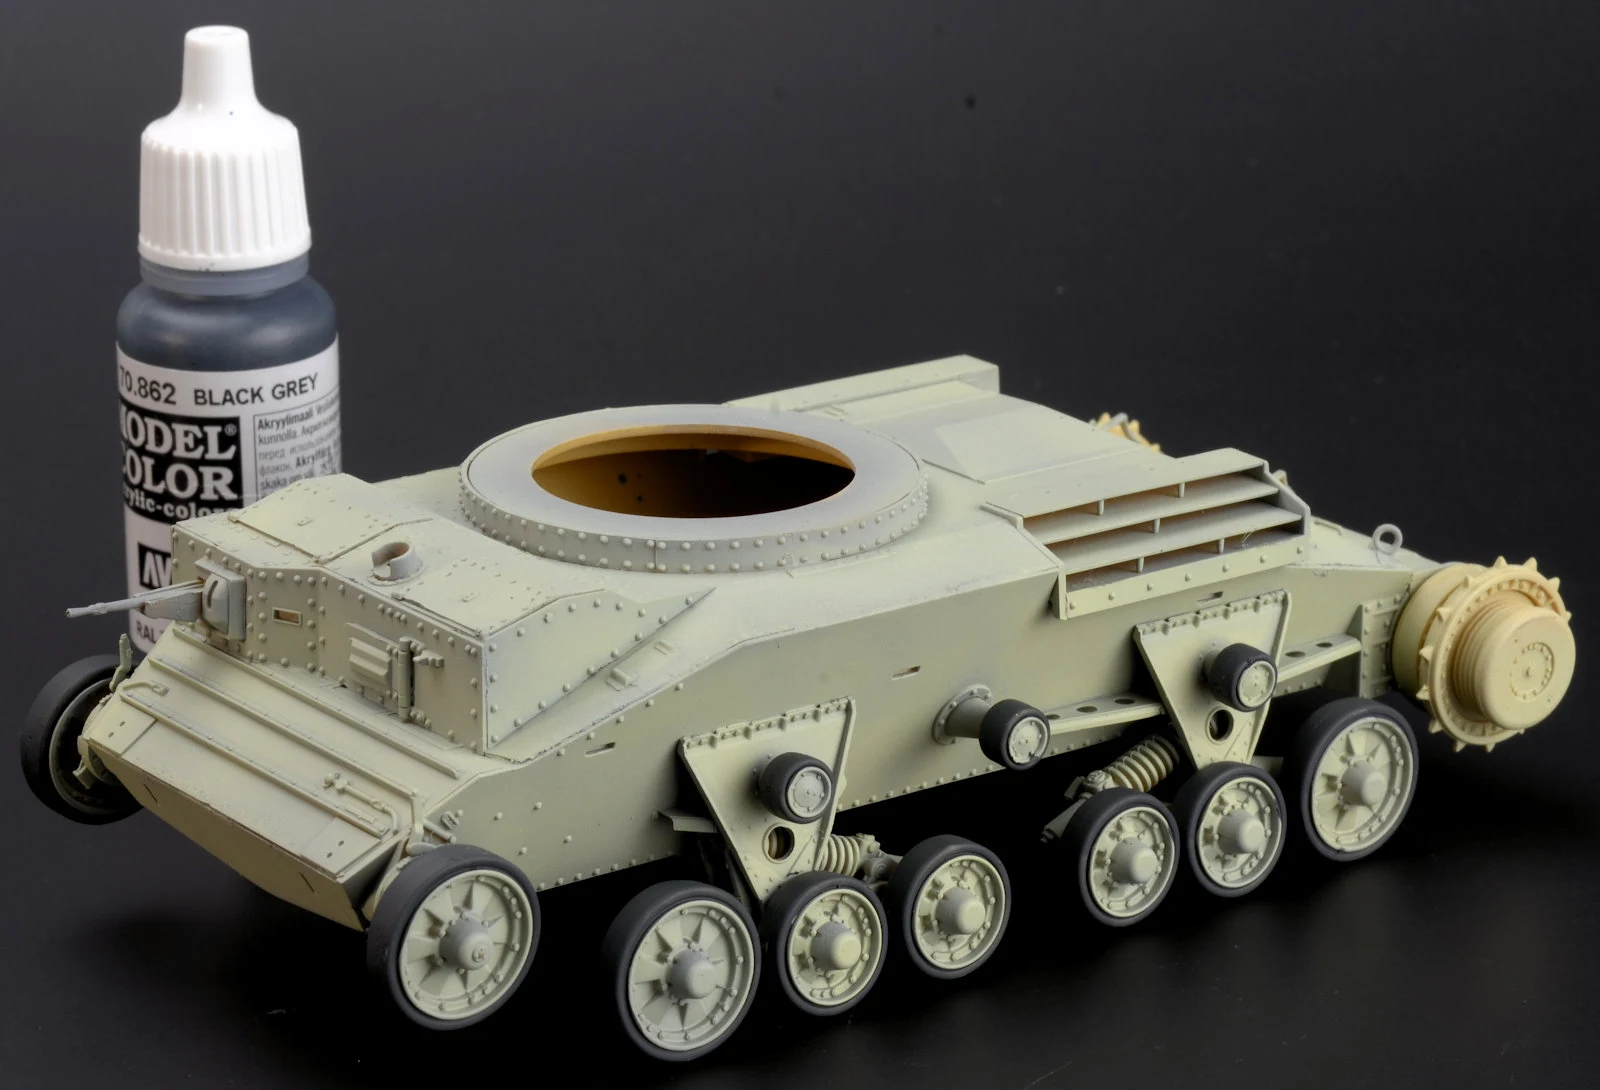
The body is quickly sprayed in a Portland Stone colour and the wheels were now brush painted using a Grey Black from Vallejo. The grey tones work far better for rubber than a straight black.
This part of the process is completed now so we can fit the painted tracks and wheels without too much obstruction.
The loosely painted link and length tracks are now applied along with the side guards. The alignment of my tracks was pretty ordinary, but in the scheme of things, it would be pretty hard to detect when the model was displayed flat on the table.
You will notice the colour of the drive socket in the picture is radically different to the colour of the body of the tank. They were actually painted using the same colour, but the grey primer on the body was skewing the colour so much I would need to address these differences moving forward.
I made the decision to mask the track sections and re-prime the model using Alclad White Microfiller. The Portland Stone was such a weak colour it really needed the white base to present the true tone.
Most of the handles, tools and hatches were left off at this stage so masking the straight lines of the Caunter scheme would be easier to achieve. The model now receives an all over coat of Portland Stone from the AK range of acrylics.
With the roughest of masks, the Slate colour is now applied. Your masks don’t need to be perfect. I find, the distance and angle you hold the airbrush when spraying is a pretty important part of the process, and can make even a sloppy mask work well.
Again with my sloppy masks I hear you say! The AK - Silver Grey is now applied.
With the masks removed, the basic shapes present themselves.
The small bits and pieces are now fitting to the model. In hindsight, I should have left the exhaust off when masking the scheme. I would have got a much cleaner finish on the tail of the tank. Probably only something I will notice, but I would recommend to leave it off.
The model is treated to a coat of Alclad Aqua Gloss.
The decals are applied. I didn’t notice at the time, but they didn’t go down very well. It will be something I will touch up later. I will blame operator error rather than the decals though… Although I’m not sure where I went wrong.
You also see here, I got all excited and gave the model a post shade of sorts with a heavily thinned mix of Tamiya XF-10. I go through stages with my painting…and this was my post shade stage. I really should have held off that at this point. I wasn’t overly happy with the result.
In order to try and settle the shading I had just done, I gave the model an all overcoat in a brown enamel filter.
A pin wash was then applied to the raised detail using the US Modern Vehicles enamel wash from AMMO.
I wanted the model to look a little rough around the edges, so as a first layer of chipping, a blended colour of the Light Stone and the Slate were applied using a sponge. This effect is only discrete and is designed to add a visual layer.
The next layer of chipping was applied. Again, using the sponge, but now using Black Grey from Vallejo.
It is easy to go too far with the chipping, but with a little focus and refinement, you can achieve some realistic results.
To achieve more tonal variation on the horizontal surfaces, oils were applied and blended into the surface using a brush loaded with white spirit.
Rain marks Effect and the US Modern Vehicles wash were used to create some streaking on the turret. Using a brush moistened with white spirit, the enamels are dragged and blended in a downward motion.
Then I did something I haven’t done in 20 years. I gave the model a drybrush in spots, using a Buff Oil paint. I felt everything was just melding into itself, and the dry brush technique helped get some pop out of the model.
Tools and some leading edges were now buffed using gunmetal pigment on a cotton tip.
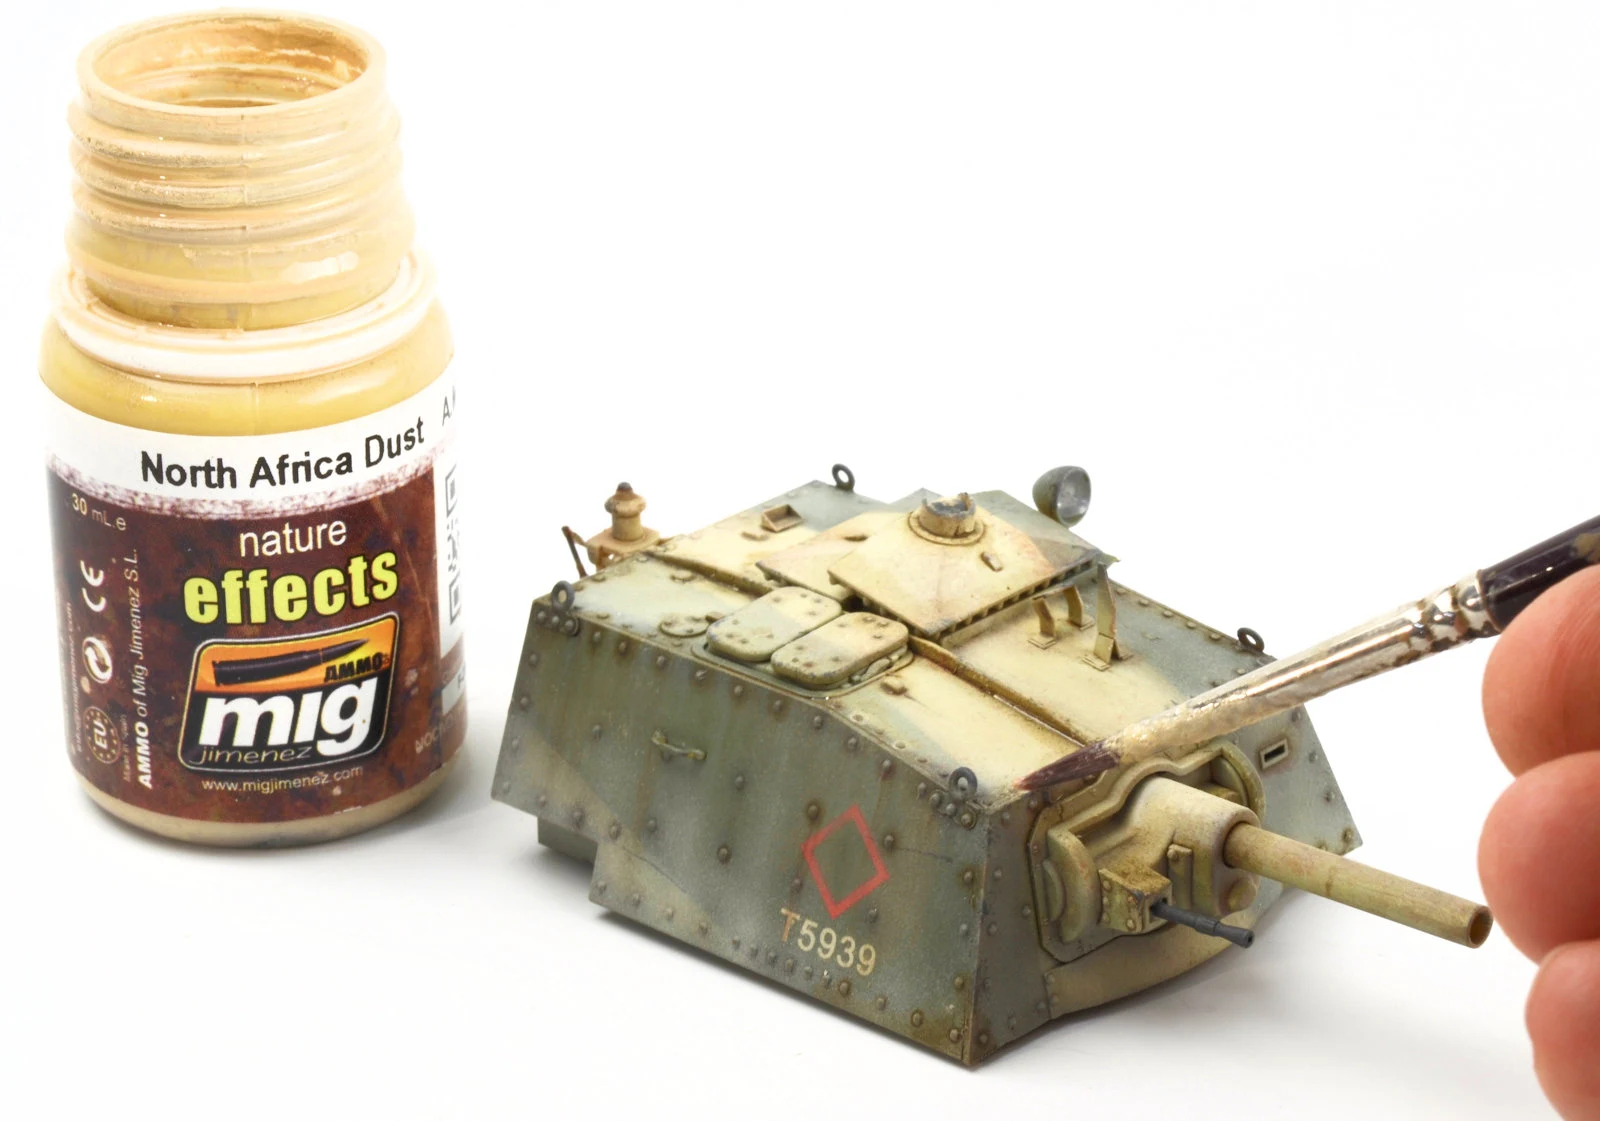
A selective dust wash is now applied.
Now using a mix of plaster and sandy-toned pigments, a splattered effect is applied to the model by loading up the brush with the pigment slurry and blowing the air across the face of the brush. The result is the mix flicks onto the model giving the look of splashed, dried mud.
It is messy work, however, so the effect is refined using a brush and white spirit.
Further removal was required using a makeup sponge.
With the dust layer complete, I felt the model was losing its tone again, so with a heavily thinned mix of Tamiya XF69 and XF-64, I applied a post-shade in the appropriate areas. This helped generate more contrast from light to dark and make the model more visually interesting.
Finally, I went over the tracks and some of the tools using a graphite pencil.
Conclusion
I was a little back and forth on this paint job. I really rushed the early stages and spent the rest of the time getting myself back on track. This Caunter scheme is a really interesting pattern to add to the display cabinet, and there is a real temptation to hold back on the weathering in order to keep the straight lines sharp and clear. I did, however, push through that temptation, and aimed to produce a model that looked like it had seen quite some time in the North African desert.
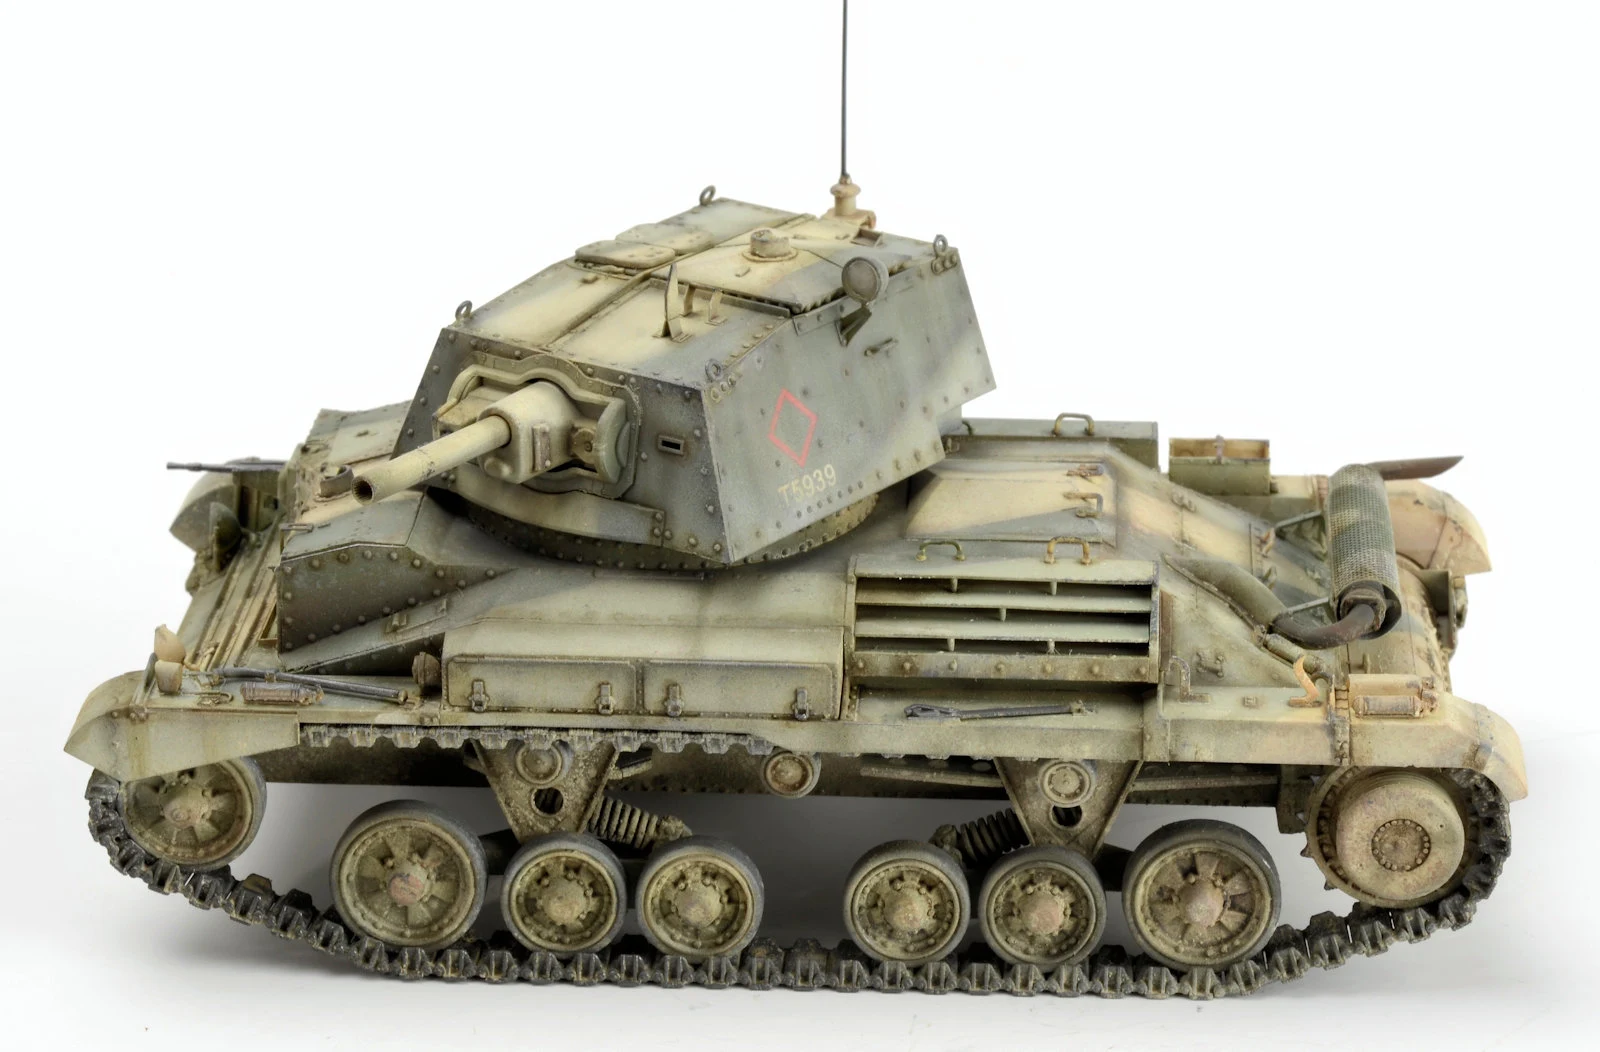
A walk around of the completed model
This Bronco Cruiser is a lovely little model with very few issues. As mentioned, I did have a few alignment issues with the tracks, but other than that it was a straight forward build.
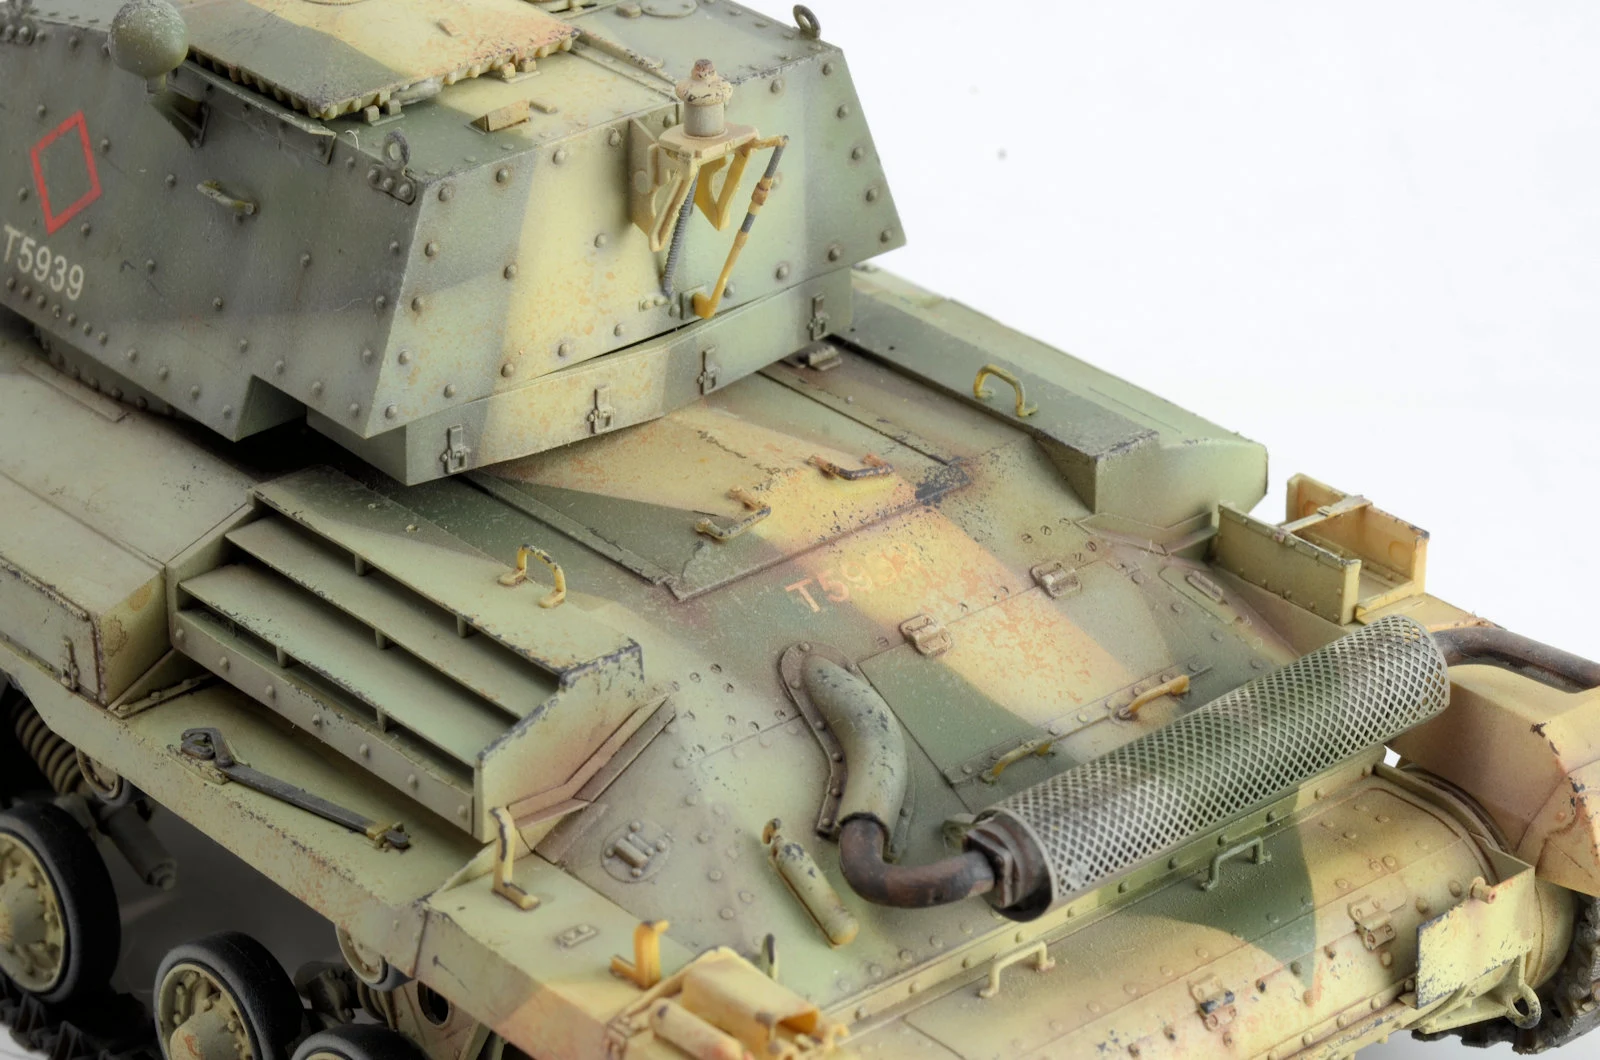
A close-up look at some of the details...
There is a lot to like about this kit. Firstly, it is a really interesting subject that you don’t see a lot of. Secondly, it is simple to build and comes together very well. Thirdly, and I believe most importantly, there are so many schemes included in the kit if you can’t pick one you aren’t trying hard enough!
Clayton Ockerby
Thanks to Bronco Models for sending this kit to me to review & to build...


