Having already made Meng's previous 2A7 kit here on TMN we thought Andy Moore would be perfect to go up a notch (or a "+") and take on their new 35th scale Leopard 2 A7+ German MBT in a build review. See what is in the box and the simple construction of this detailed kit in part I of his guide...
Manufacturer - Meng
Manufacturer - Meng
Kit Number - TS-042
Scale - 1/35
Price - £55, ¥7,200, US$70, €62 from Hobbylink Japan
Product Link on the Meng Models website
Kit includes;
•
Clear lights, periscopes and optical equipment
•
Poseable crew hatches
•
Moveable suspension
•
Workable tracks
•
Photo-etched detailing
Over the last few years, Meng has been
slowly working their way through the assorted members of the Leopard family of
main battle tanks. Now the latest release is hitting the shelves of your local
hobby store in the form of the Leopard 2A7+. It's a kit that's based heavily on
Meng's previous 2A7 version that we built a couple of years ago on TMN, but
with enough differences to make it a unique and interesting vehicle in its own
right. We'll jump into the build shortly, but first, we'll get the low-down on
the real thing.
Meng's previous 2A7 version we build here last year
The Leopard 2A7+ came about as a result
of a company-led initiative to create a modernised version of the existing
2A6. The first A7+ demonstrator was
built by Krauss-Maffei Wegmann (KMW) from an ex-Dutch Leopard 2A6, and unveiled
to the public at the Eurosatory defence industry trade fair in 2010. The tank
was tested by the Bundeswehr (German Army), and there were initial plans to
upgrade at least 50 Leopard 2 A6's to the A7+ standard starting in 2012,
although those upgrades have yet to happen. The Bundeswehr did eventually
acquire a small number of Leopard 2A7's which, although broadly similar in
appearance to the 2A7+, do differ in a number of ways.
The 2A7+ is designed to operate in both
low and high-intensity conflicts, with particular attention paid to urban
operations (UrbOp) and the threats from IEDs. While the core of the tank is
essentially the same as earlier versions of the Leopard 2, the exterior has been
heavily upgraded with a modular armour package that provides 360° protection
against mines, IEDs and RPGs. The main gun is the same 120mm smoothbore L55
fitted to the 2A6, but the A7+ features additional armament in the form of a
remote-controlled FLW 200 weapon station which can be fitted with either a 50
cal heavy machine gun or a grenade launcher.
There were reports in 2011 that Saudi
Arabia was intending to purchase up to 270 Leopard A7+ tanks, but the reports
were never confirmed by Germany and, as yet, no sales have been made to Saudi
Arabia. KMW finally got the sales it was looking for in 2013 when Qatar signed
a 2.2 billion dollar deal to acquire 62 2A7+'s, with at least half of the order
having now been delivered. Perhaps Qatar needs a few heavily armed MBTs to
police the upcoming World Cup?
In 2018, Hungary became the second
confirmed customer for the 2A7+, when it signed a contract to procure 44 tanks
as part of the modernization process of its military forces. Unfortunately,
neither the Hungarian nor Qatari versions can be made from the Meng kit, as
both feature different equipment packages to the original KMW tech
demonstrator, which is the version represented by the kit.
The Kit
The kit arrives in one of Meng's regular
large and quite deep boxes, with some attractive artwork adorning the top, and
a handy key to the paints required on the side. Inside you'll find 12 sprues in
a sand coloured styrene, and four more in black holding the track links. Two
clear sprues hold the parts for the lights, periscopes and sensor optics, while
the remainder of the plastic parts are individual mouldings for the upper and the lower hull, the turret, and finally, a very cool slide moulded 50 cal machine
gun. In addition to the styrene, you get some photo-etch, a length of braided
metal wire for the tow cables, some poly caps, and of course the instruction
manual and decal sheet.
Most of the parts for this version are
carried over from the previous Leopard 2 A7 release, and were covered in detail
in the in-box review of that kit, so I won't go over them again here. Instead
I'll just show the new parts that come with this release, before jumping
straight into the build.
Sprues A-G identical to Meng Leopard 2
A7
Sprue H
The first of the new sprues holds parts
to upgrade the hull, with new add-on armour elements for the glacis and hull
sides. Also on this sprue, you get the components for the FLW 200 remote weapon
station.
Sprue J
Like the above sprue, this one holds
new armour pieces, in this case for the turret, along with more of the A7+
specific details.
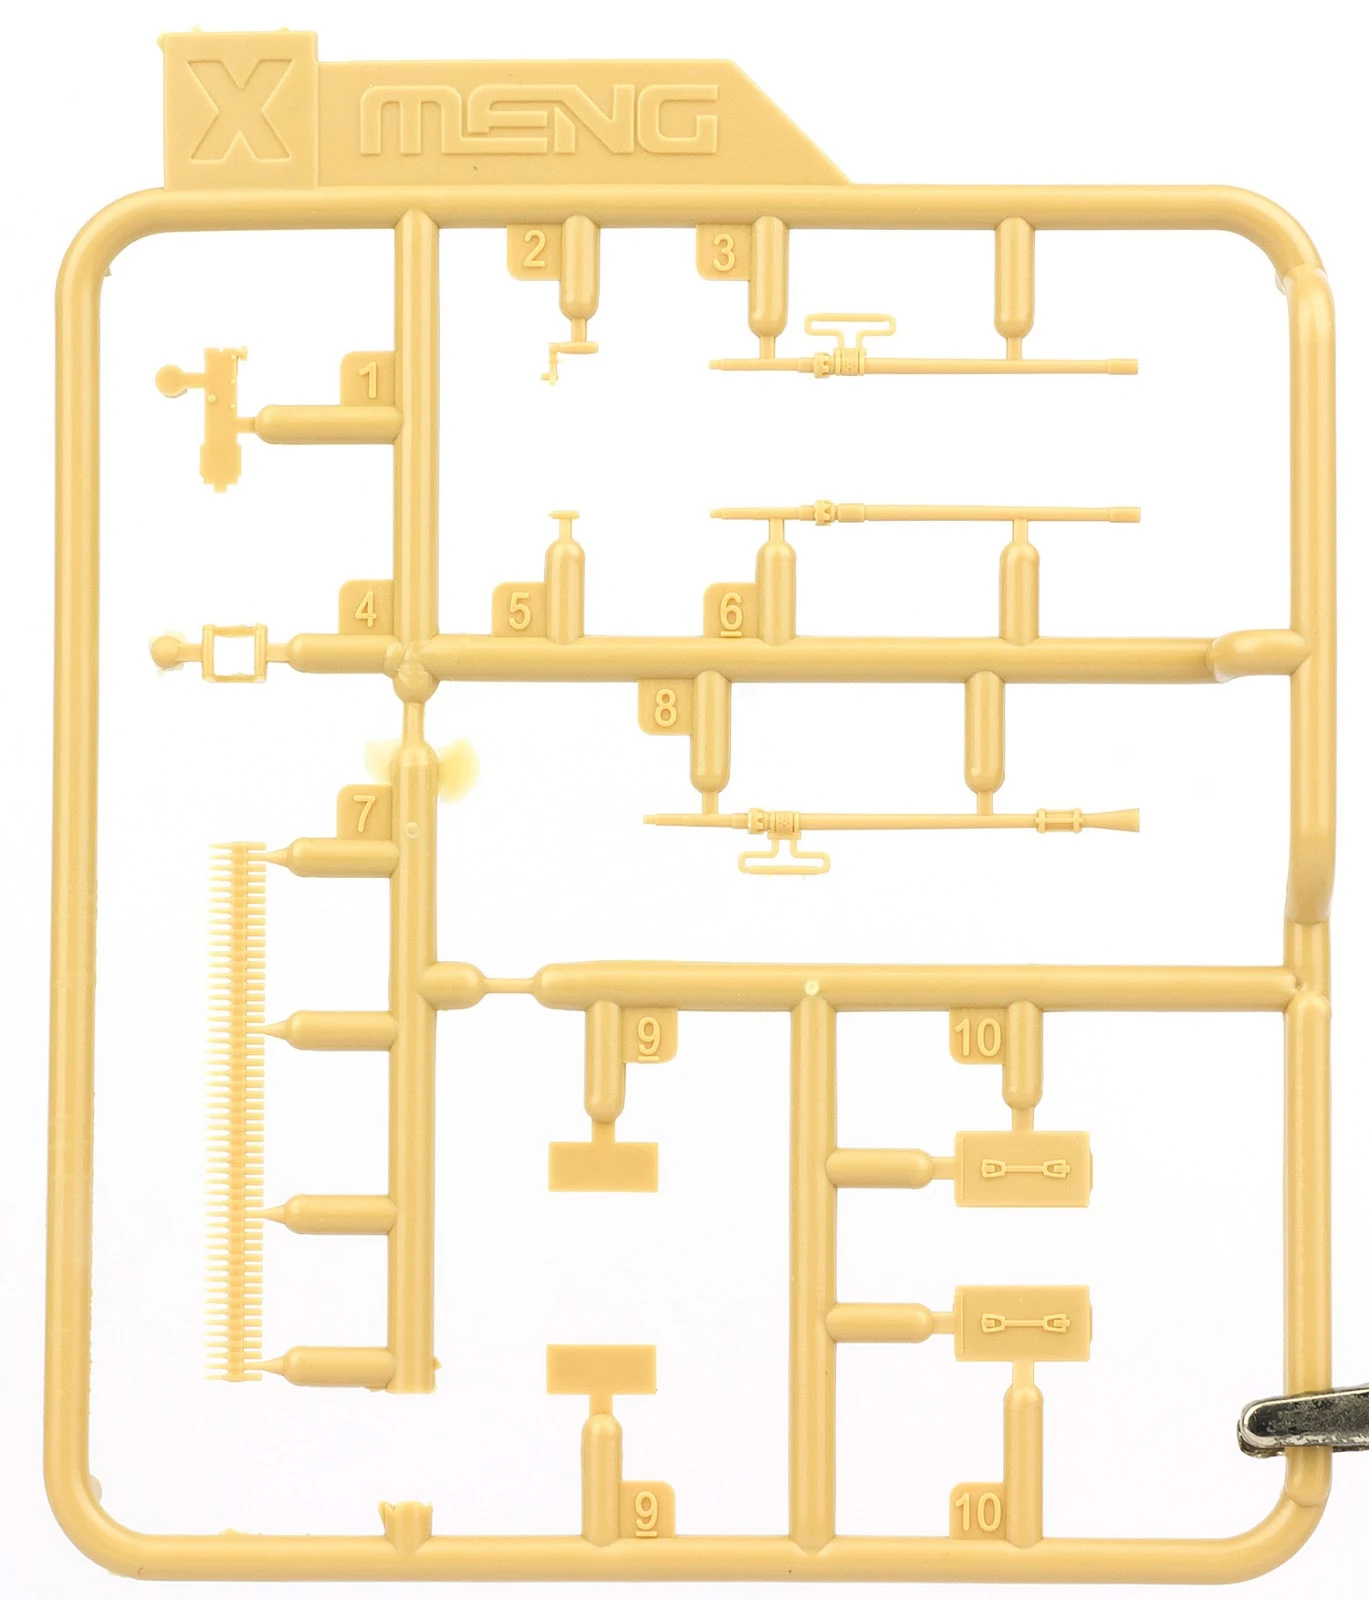
Sprue X
The last of the new sprues holds
elements of the 50 cal machine gun for the remote turret. There are three
barrels included here, although only one is required for the build. You'll end
up with quite a few spares at the end of the build, as many of the sprues
contain unused parts from earlier versions of the Leopard 2.
To finish off the machine gun you get
this very smart one-piece moulding for the main receiver and barrel support.
The support features fully open holes around its circumference, and the barrel
on the previous sprue will slide up into this to create a very realistic MG.
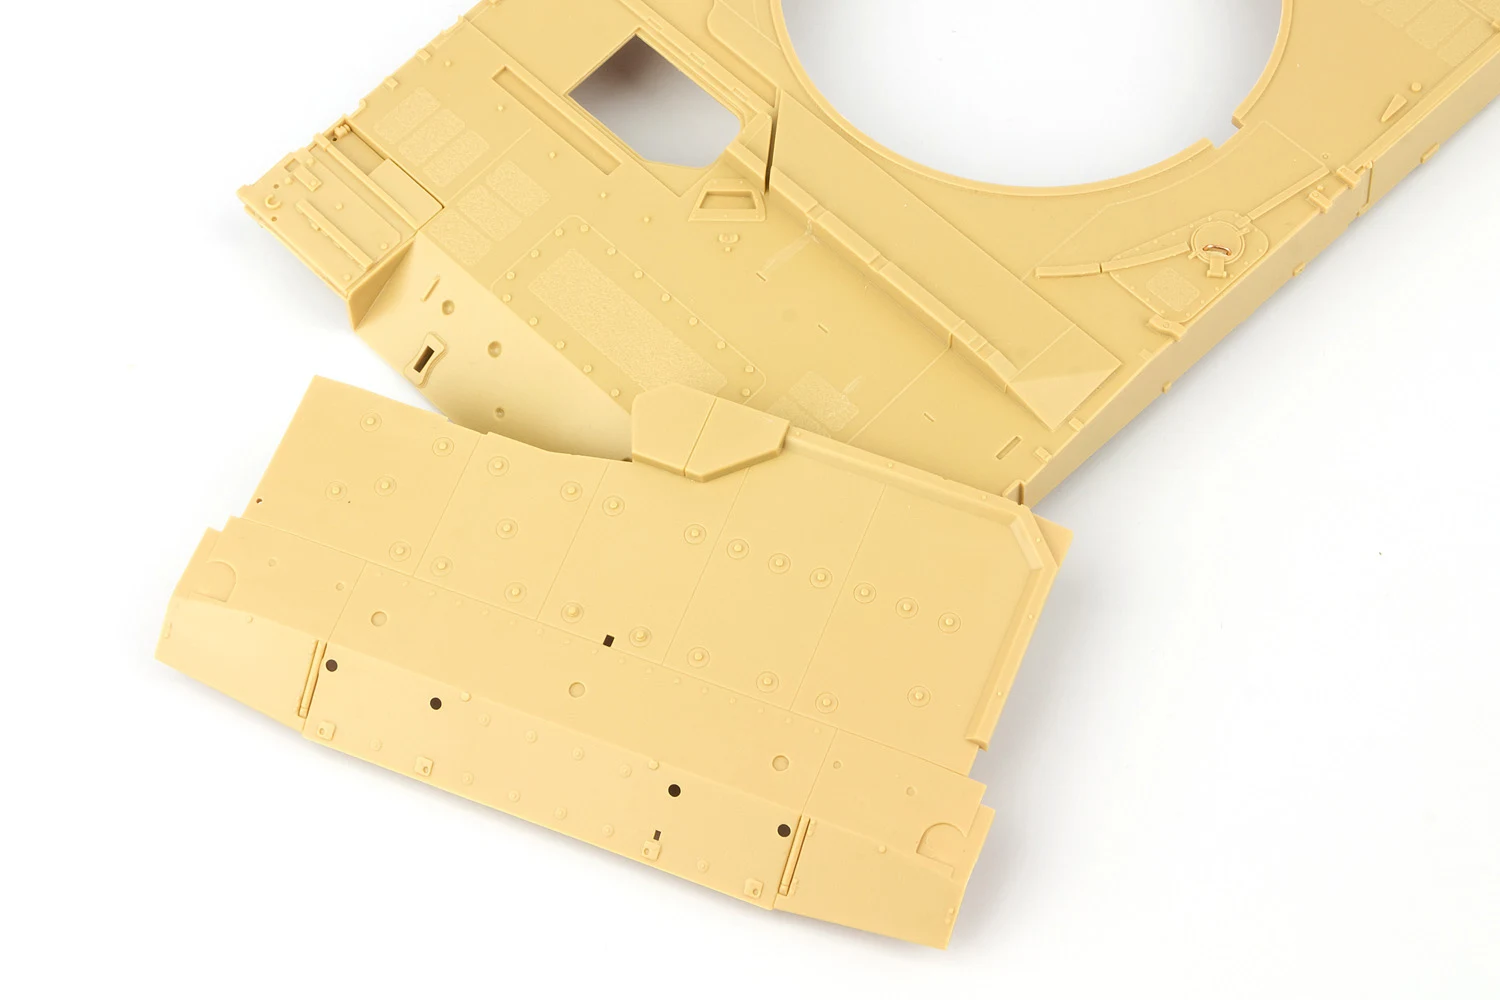
The main hull and turret mouldings are
almost identical to those from the previous Leopard releases, with just a few
alterations to the mould tooling to account for the few detail differences on
the 7+.
Marking options
Meng provides two different marking
schemes in the kit, one representing the desert camo worn by the original KMW
demonstrator, and the other wearing standard NATO tri-colour camo as worn by
in-service Bundeswehr tanks. The latter option is hypothetical, as the real 2
A7+ isn't in service with the German Army and hasn't worn this camo, but it
does make an interesting what-if scheme all the same. One point to note; Meng
have incorrectly listed the darkest colour of the desert scheme as NATO black.
It should, in fact, be RAL 8031 Sand Brown. That, together with the other desert
scheme shades, as well as the NATO colours can be found in the AK Interactive
Real Color line.
The Build
Okay, enough of sprue shots. Let's get
stuck into the build. I won't cover every step here, at least not in detail, as
much of the basic construction is the same as the 2 A7. The real differences
come later into the build when we get onto the add-on armour and close
protection systems. To begin with, though we're in familiar territory with the
wheels and running gear. The double road wheels are joined together with a poly
cap trapped between them giving the wheels a nice friction fit on the axles.
The lower hull requires the various
suspension mounts and bump stops adding, along with the belly armour plate,
which requires a few holes to be opened up on the hull floor first. With all
that work done, the torsion bars of the working suspension can be slid through
their respective mounts, ready to be secured from the inside of the hull.
The ends of the torsion bars are then
secured with a drop of cement into the slots on the opposite side of the hull.
The suspension is intended to be fully working, although with my previous
Leopard build I found the swing arms had a tendency to stick in certain
positions, rather than swing freely, due to the friction of plastic on plastic
where they pass through the sides of the hull. As a result, I decided to glue
the suspension in a fixed position on this build, having first made sure all
the axles were in line with each other.
Moving on to the upper hull, two
separate panels are added to make up the engine deck. These two panels are
split along the hinge line and it's possible to pose the rear panel open,
revealing the (empty) engine compartment. I suspect Meng once thought about producing
a resin engine set for their Leopard kits, as they have done for other models.
That's not happened to date, but if you can find an aftermarket engine (or
build one yourself) you could still utilise this feature.
The surface detailing is excellent, but
there are always a few areas that can be improved. One of those are the solid
grab handles, which look much better if carefully removed and replaced with
copper wire. It's an easy step, but one which adds an extra degree of realism
to the model.
The main visual difference between this
Leopard and the older models are a large amount of add-on armour covering the
hull and turret. This large armour slab covers the glacis, and gives the A7+ a
very distinctive wedge-nosed look. You need to remove the front edges of the
fenders before fitting the armour, a step that's shown clearly in the
instructions. After that, the slab piece drops perfectly into place.
Another area where the A7+ differs from
previous Leopards is the headlights. The plus features LED cluster lights
mounted on the glacis armour, and these have been accurately depicted in the
kit. The lights can be built up as complete units, before being dropped into
place on the hull. I left the clear lenses of for now, and they'll be installed
after painting.
This kit doesn't feature quite as much
photo-etch as the previous Leopard kits, which will be good news for those who
don't like dealing with it. You do still get the very neat looking two-layered
engine screens though. These look at first like they'll be a struggle to fit,
but in reality, they go on very easily. Just be careful not to use too much
superglue or you'll clog the fine mesh of the screens.
One of the few areas I criticised
during the 2 A7 build was Meng's use of string for the tow cables. It's great
to see with this release that they've switched up to using proper braided wire
for the cables, which gives a far more realistic result. It's nice to see a
manufacturer improving their products over time.
Switching over to the turret, this
builds up in a pretty similar way to the previous versions. The areas under and
around the hatches will be a little difficult to access for painting when
everything's installed, so those parts were given a quick coat of black before
the parts were attached.
The various optical sights that mount
to the top of the turret need their glass elements tinting before assembly. The
instructions recommend clear blue for this, but I went with a clear red. The
coatings on optics tend to refract light differently depending on the angle you
view them from, and can appear to reflect different colours as a result, so
there's no right and wrong for this. After they were tinted, the optic areas
were masked off and the surrounds painted dark green.
The real focal point on the turret, and
the thing that gives the A7+ its badass look, is the 50 cal remote weapon
station. Meng has recreated this with a very detailed build that matches the
real thing very closely. The only thing missing is the cabling that connects
the gun to the various sights and control systems. These were added using some
vinyl coated wire and short lengths of lead foil for the clasps. Some of the
inner areas of the gun mount were sprayed green before assembly in case they
were hard to access later on.
With the MG temporarily sat in place,
the weapon station does look very imposing sat high up on the turret. It's one
of the elements that will really give this model a unique look. The whole
assembly mounts to the turret via a poly cap in the circular base, meaning it
can be freely rotated and also allowing it to be removed for easy painting.
The last sections to build on the
turret are the large spaced armour elements. These give the turret its
distinctive smooth-sided and slightly sci-fi look. The wedge-shaped front
elements slot onto the mounts, and can be permanently attached at this stage,
as they won't interfere with painting access later on.
The side armour panels are single piece
mouldings that only require a back plate adding to close them up. As the panels
are spaced out from the turret on mounting blocks, they have a row of hinged
flaps along the top edge to cover the gap between the armour and the turret.
The only other parts to add are the grab handles and the mounts for the
side-looking sensors.
In place, the side armour adds a
considerable amount to the overall width of the turret. Although the flaps
cover most of the gap along the top, you can still see some of the area behind
them, particularly around the smoke canisters. For that reason, I've kept mine
loosely fitted for now so I can paint the area behind them before they're
permanently attached.
The only thing remaining to finish the
build is the tracks. These are the same working track links that came with the
2 A7, and they're some of the best around. Each link is made up from a trackpad and a guide horn which clip together, trapping the retaining pins in the
process to leave a fully articulated link. This process is done in sets of five
using the included assembly jig that makes the process very easy. They do take
a bit of time to do, but the great thing with these tracks is that the work
doesn't need to be done all in one sitting. You can make a few sections at a
time while working on the rest of the build, then simply connect those sections
up to make two full track runs.
I speeded up the process further by not
completing the full run length of 84 links. The top section of each run won't
be seen behind the side armour panels, so I only made the runs long enough to
extend past the idler and drive sprocket. The tracks will be painted, along
with the lower hull and wheels, then secured in position before the side
sections are glued in place.
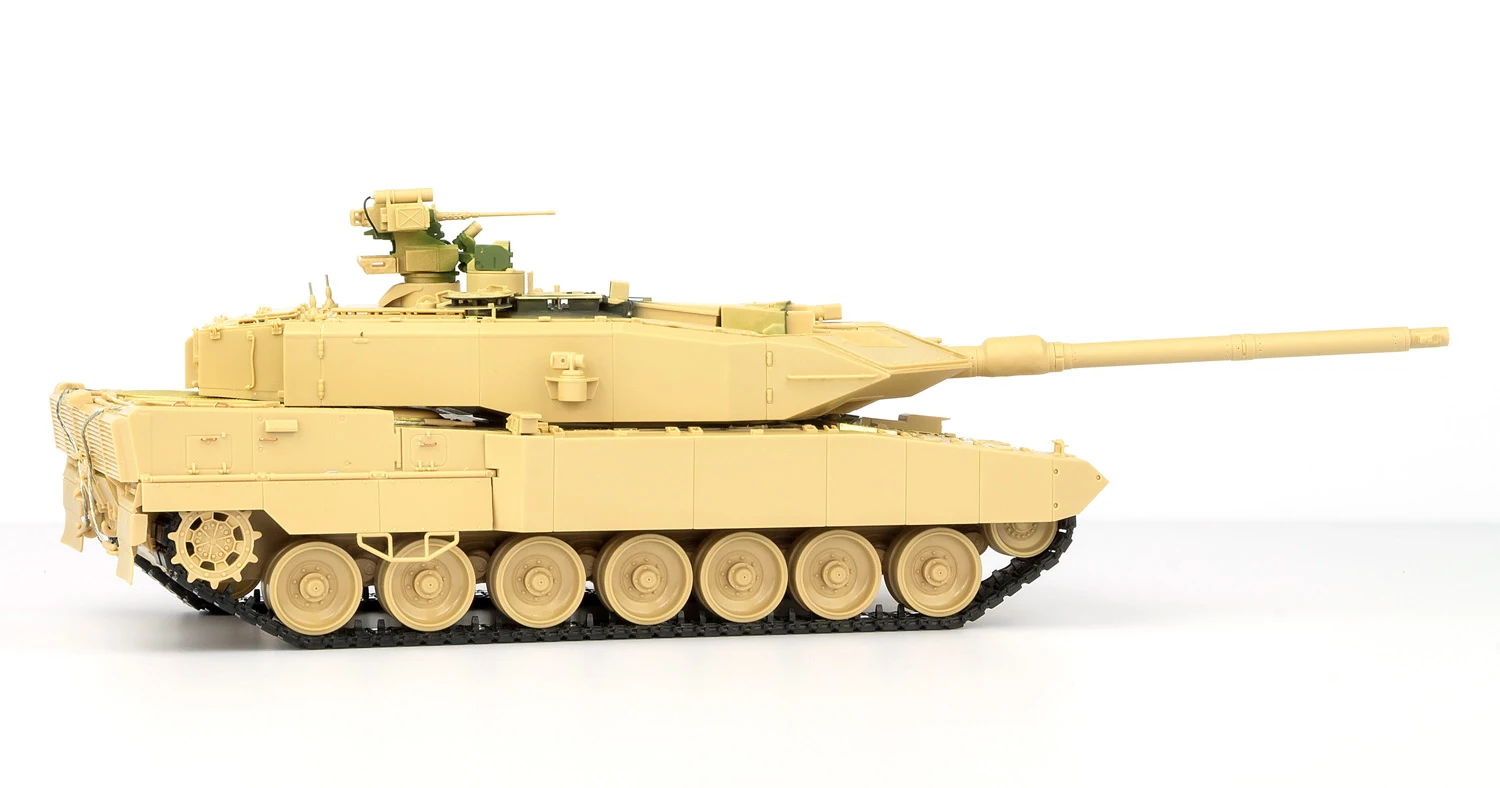
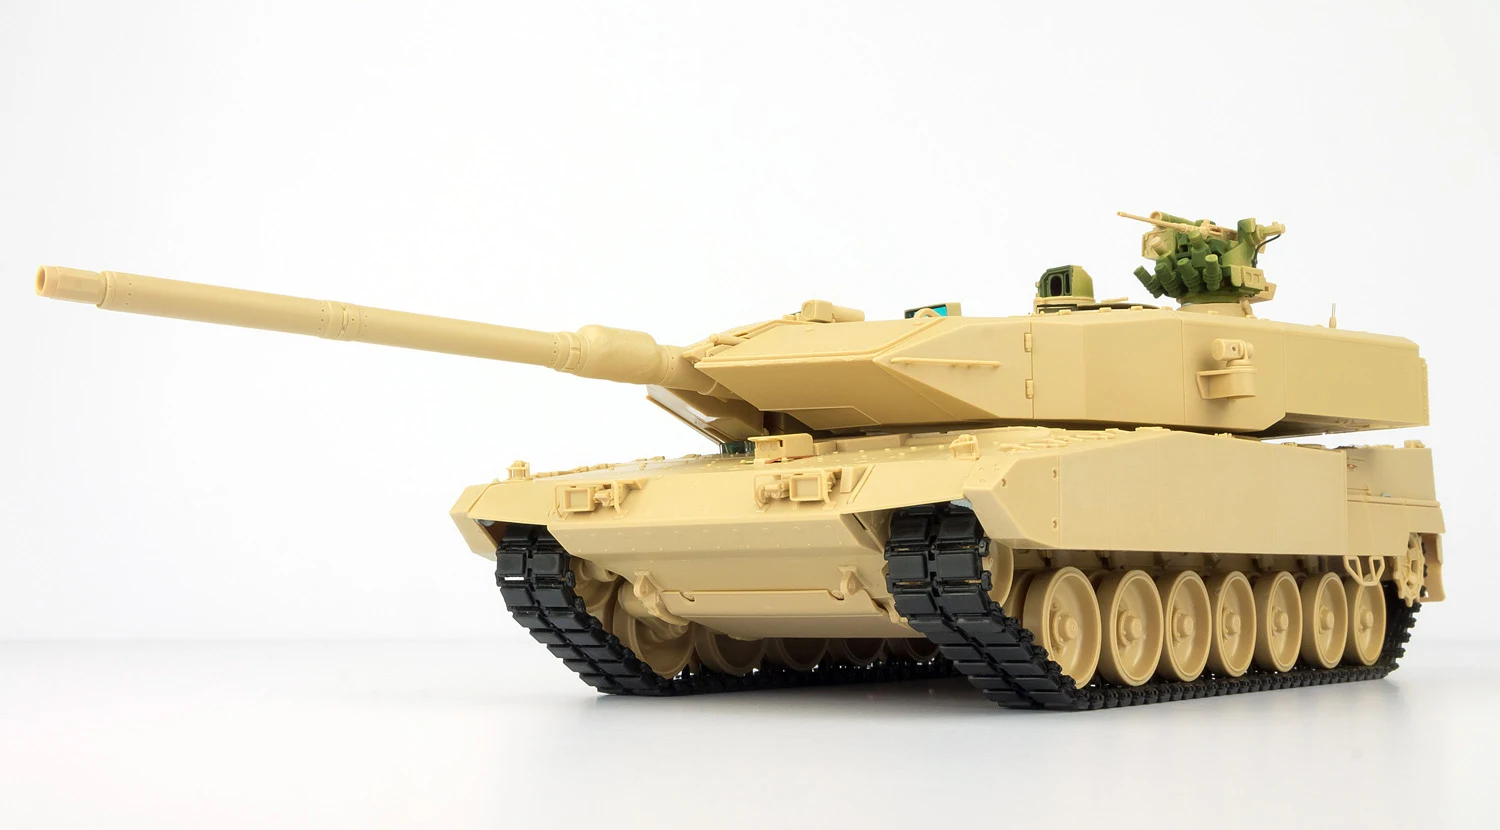
And that wraps up the build. It's been a
fairly quick and painless build too, with excellent fit throughout, and I'm
always impressed with the amount of detailing that Meng manages to squeeze into
their models. If you're undecided about the kit, thinking it will just be the
same as the previous 2 A7, then I'd definitely say give it a go. The add-on
armour and other additions on this version definitely give the A7+ its own
unique look. Hopefully, that look will be even better will a bit of paint thrown
on, and that will be coming up in the second part of the review. In the meantime, I'll leave you with some shots of the finished build.
Andy Moore
Thanks to Meng Models for sending this kit to Andy to review, build and paint.


