John Bonanni has already built-up his model of Takom's new 35th scale M46 Patton. Pausing along the way only to give us a detailed description of how the kit builds up, & just what the finished kit looks like before painting & weathering. See his how-to in today's story...
In-Boxed: M-46 Patton
From Takom
1/35th scale plastic injection moulded kit
The kit comes with 9 marking choices
Product Link on the Takom Website
Previous Parts of this guide from John:
Today: Construction Guide: 1/35th scale M-46 Patton from Takom
Construction began on the lower hull by attaching the torsion bars and shock absorbers. The torsion bars are keyed to be positioned in the standard flat terrain position. .
If you want to articulate the suspension you would need to drill out the hull locating holes to remove the ‘keyed’ flat side
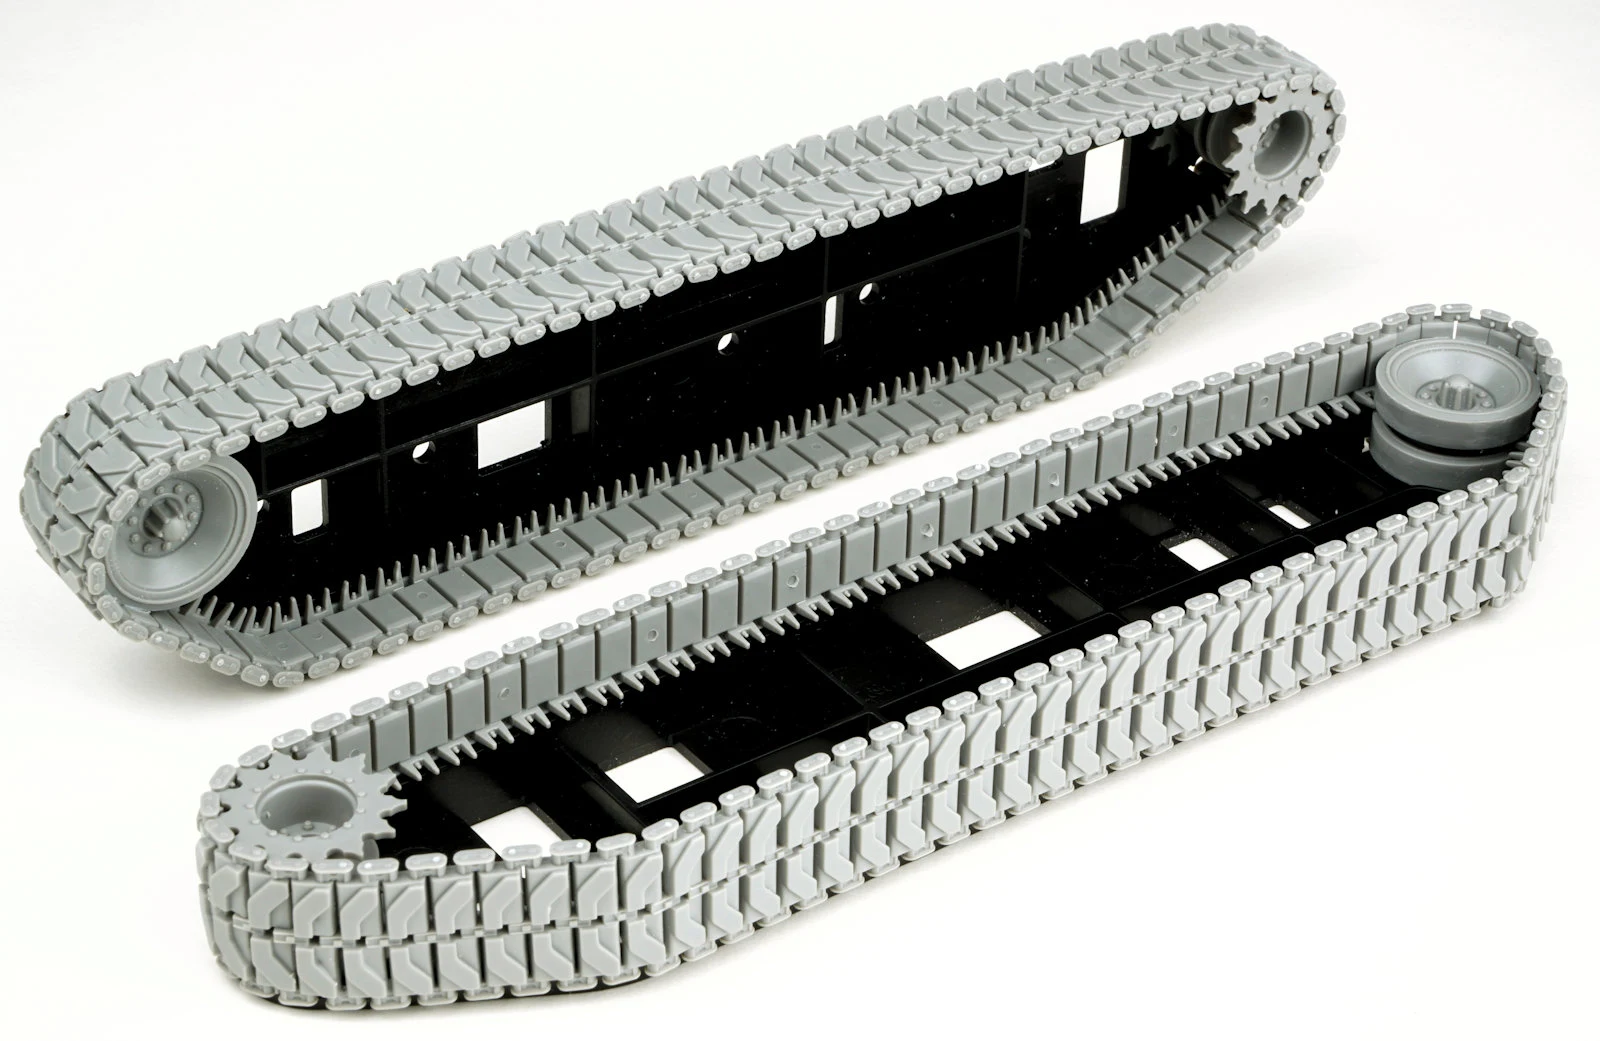
To ensure the alignment was square the track jigs were used and left on overnight as the glue cured.
As mentioned earlier the removal of the centre mould line saved a ton of time. On this kit, all I had to do was remove the sprue attachment point and sand smooth that section only.The two turret halves of went together smoothly and only a small joint line remained. However, that is the only section that needs to be addressed. Along portions of the upper edges and side sections, there are fine moulding lines that need to be removed. They’re difficult to see right away, a coat of primer will make them pop.
If you choose the canvas-covered mantlet option, which I did, you’ll need to remove the moulded on mounting plates. A sharp Xacto blade made the task easy. There’s no need to be neat during this process because the canvas cover will cover the entire section. Also, note the fine mould line on the right side (left turret side).
After attaching some details to the top hull I decided to dry-fit it to the lower hull. The fit was nothing short of perfect and it essentially clicked into place. This made me feel great and I continued adding the finer details.
The rear engine deck is nothing short of impressive. The moulding on what seems to be endless intakes is very crisp and will present a lot of unique weathering opportunities down the road. A detail that is moulded separately is the nine small triangular mounting loops. No spares are provided and two of mine flew off into oblivion so they’ll be replaced later with bent wire.
All five pieces of the canvas mantlet have been assembled and the two-piece barrel has been dry fitted. The seam lines are fine and minimal but the four located squares for the searchlight need to be filled and sanded for the vehicle I have chosen to depict.
Before attaching turret details I recreated the cast texture that was lost when I filled the seam line after turret assembly. This was a quick process using Tamiya Extra Thin liquid cement and Basic Type putty. The ‘P’ on the cement bottle indicates that the bottle is dedicated to putty work only.
The track jigs worked perfectly, that’s really all I have to say. Although not necessary, I chose to attach the sprocket and idler.
The included braided copper cable is a nice touch and is malleable enough to form around the hull details.
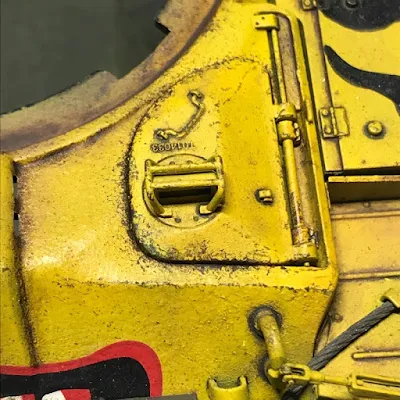
30. I treated the forward hull section with additional texture with the same method as the turret. All of the details (lights, fender supports, and tow shackles) fit right into place. A nice touch, which more manufacturers are doing, is moulding the lights hollow and included a clear lens. No more hunting for MV lenses!
Rear turret details were fixed with liquid cement, again, no surprises.
As mentioned earlier I lost two of the triangular tie-down loops, which were recreated using wire. It’s also important to note the flawless fit along the rear deck.The tool kit on the front hull is only mounted temporarily. It’s very important not to attach it because it will be impossible to add the ‘Tiger Face’ decal later.
Takom’s representation of the ubiquitous M2 .50 cal heavy machine gun is nicely detailed. The only possible downside is that the ammo boxes provided are all closed. So, you will need to source an alternative if you wish to have it ‘fed.’
Construction finished! In total construction took less than 8hrs. I’m a fast builder, but I’d like to attribute the speed to Takom’s engineering and fit as well.
Disassembled and ready for painting. I try to assemble as much of the kit as possible before the painting begins.
Click on to part III at this link: Painting & Finishing Guide: 1/35th scale M-46 Patton from Takom


