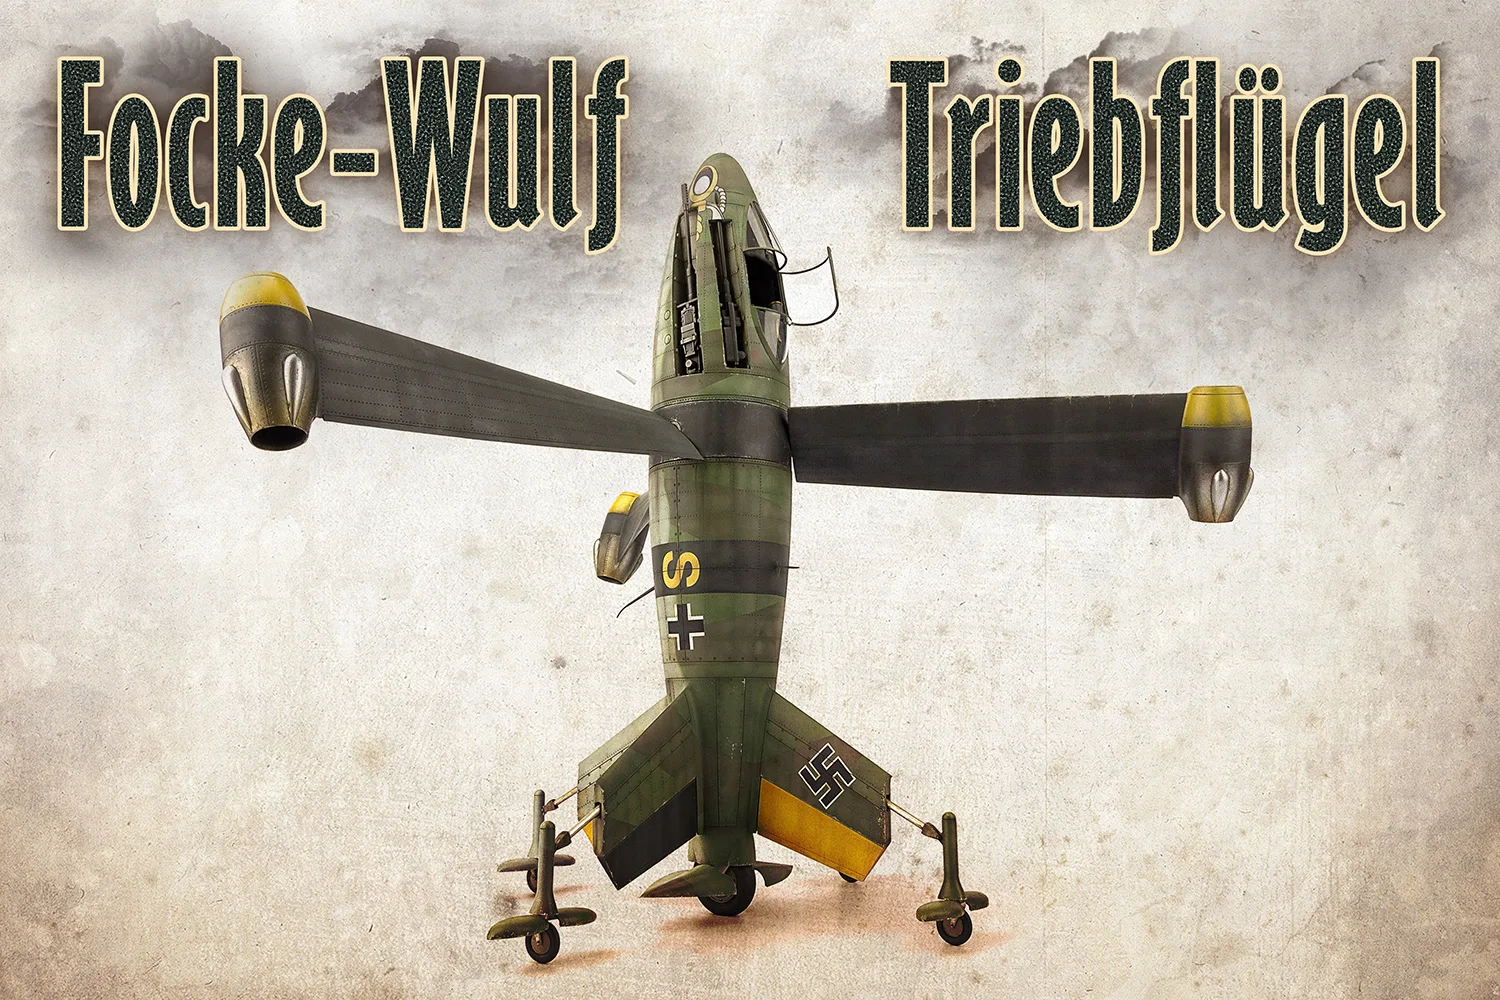
The last part of Andy Moore's flight of fancy in the Focke-Wulf Triebflügel from Miniart in 35th scale is here as promised. He has done a very nice job in finishing it off as you will see in his "how-to" article today...

Build Guide & Review: Focke-Wulf Triebeflügel Interceptor
From: MiniArt
1/35th scale
Kit No #40002
Six marking choice in the box
Price - £43.99, US$53, €47 from Creative Models

Previous parts of this story:
-Build Guide & Review: MiniArt's 35th scale Focke-Wulf Triebflügel Interceptor
-Build Guide Pt II: MiniArt's 35th scale Focke-Wulf Triebflügel Interceptor
-Build Guide Pt III: MiniArt's 35th scale Focke-Wulf Triebflügel Interceptor
Build Guide Pt IV: Finishing MiniArt's 35th scale Focke-Wulf Triebflügel Interceptor
Since the Triebflügel has a central hub rotating at high speed, I figured it would need a lot of lubrication around that area which, in turn, would lead to a lot of leaks staining the rear fuselage. To recreate that effect, I first sprayed a dirty brown shade mixed from Tamiya acrylics in streaks running from the front of the rear fuselage. The same paint mix was also sprayed around some of the panel lines to add some general grime and dirt to the airframe, and enhance the used and abused look.
Finer streaks were then added using oil paints mixed to a similar grimy colour. The same paint was also lightly splattered over the fuselage to look like flecks of oil and dirt.
The guns were next up to be finished, and these were painted with a very dark satin grey. Once dry, the guns were given a metallic gleam by rubbing over the raised details with a cotton swab coated with graphite powder.
The guns dropped very neatly into the open bays on the side of the cockpit, and all that was left to finish the forward fuselage was to remove the masking covering the glazing and glue the open canopy section in place. This is inevitably rather delicate and easy to knock off, so be prepared to reattach it a few times if you're as clumsy as me.
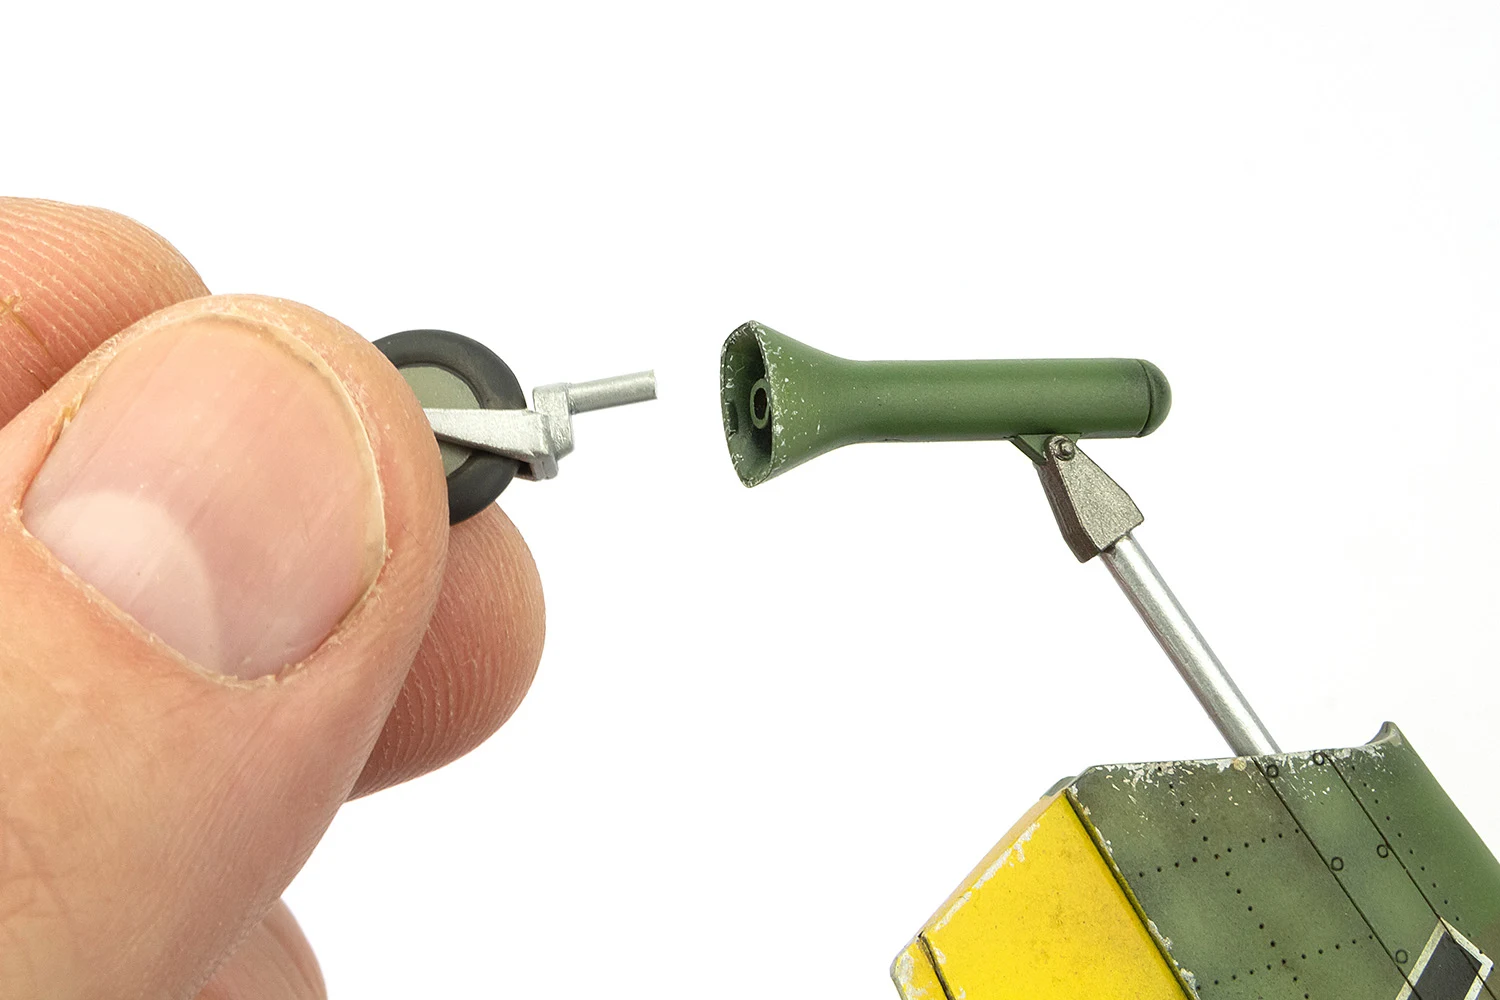
Down at the other end of the fuselage, we've got the wheels to attach, starting with the outriggers. The main struts simply pushed up into the mounting holes on the rear fins and were secured with PVA. The wheels were then added, and this was a much easier job than it would otherwise have been thanks to the short tube sections I added to the shrouds during the build. The wheels were pushed up into the tubes and the resulting friction fit was enough to hold them in place without the need for glue. That meant I could fine-tune their position to ensure all four touched the ground.
The single centrally-mounted main wheel simply drops into place in the recess at the end of the fuselage, concealing most of the support strut in the process. On mine, I sanded a slight flat spot on the bottom of the tyre to give a weighted appearance.
To finish off the undercarriage, the petals that cover the wheels in-flight need to be added. These are by far the most delicate elements of the build, and quite a bit of care is needed to fit them and get them aligned correctly as the attachment points are tiny. I used a couple of blobs of Blu Tack to support the two large petals that cover the main wheel while the glue dried. It's definitely best to attach these parts after the painting and weathering on the fuselage is finished, as they'd be way too easy to knock off otherwise.
The last areas to work on before the build was finished were the engines. These needed the bright metallic finish toning down and this was done with various enamel washes, adding a grimy patina to the casings.
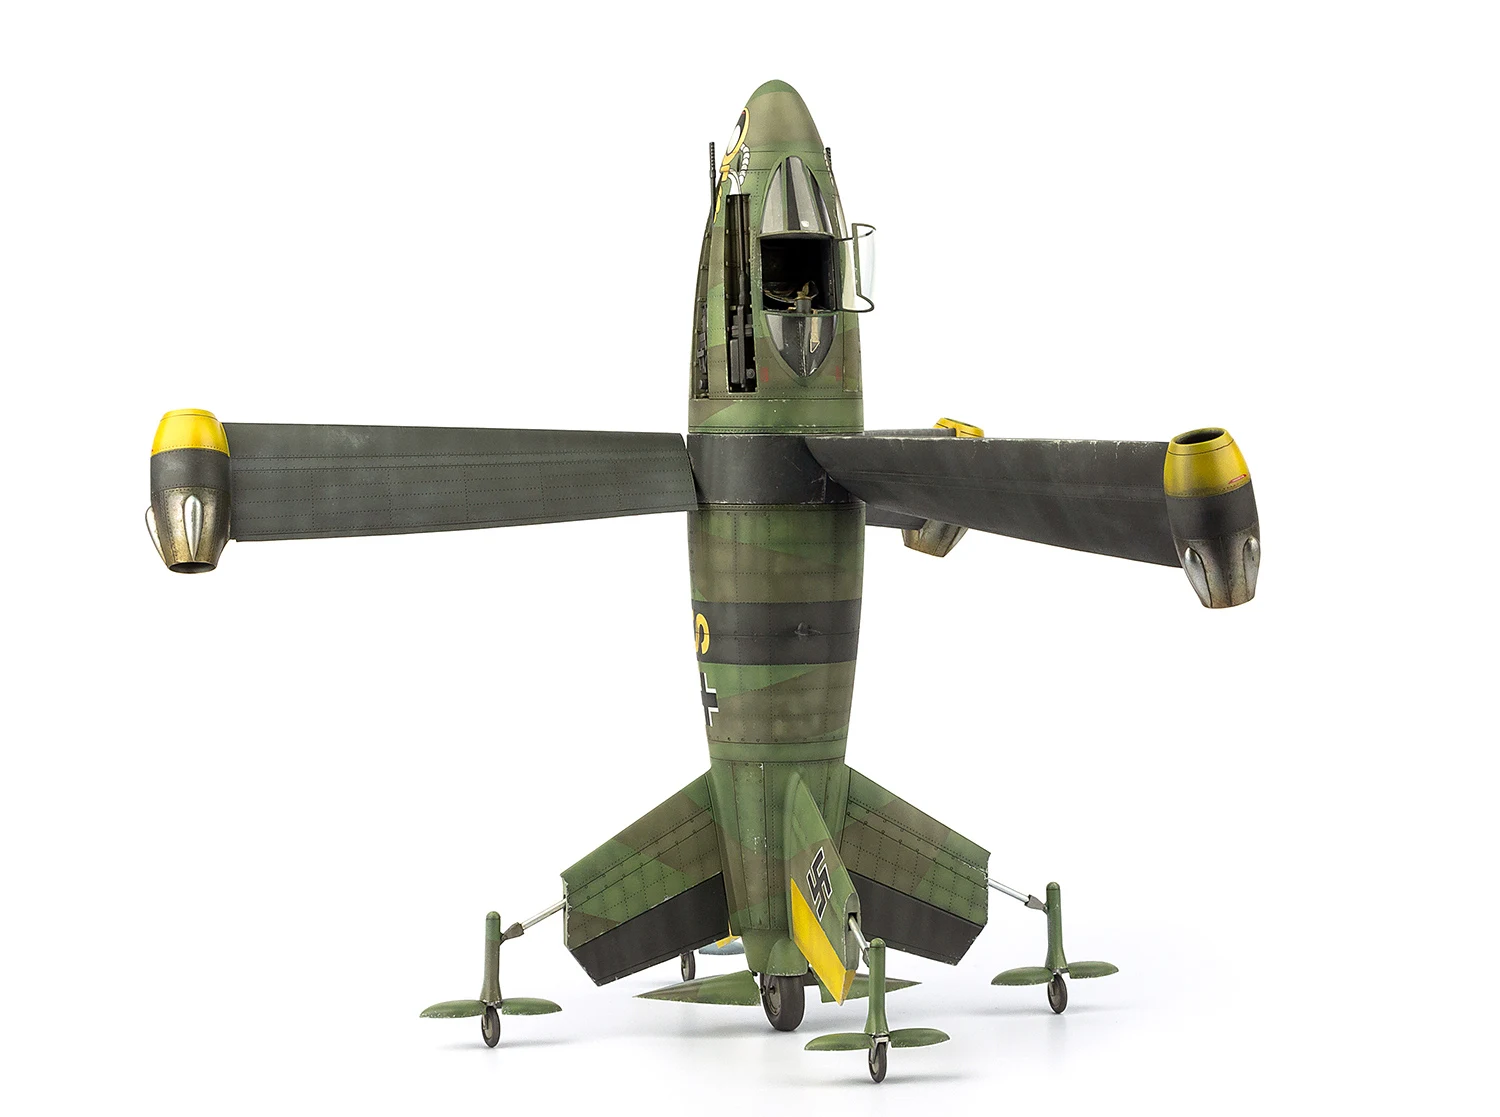
All that remained now was to slot the sub-assemblies together (which is a very simple step, thanks to MiniArt's engineering) and the Triebflügel was finished. This has been a really fun build for me, partly thanks to the straight forward and trouble-free assembly, but mainly down to the subject with it's slightly crazy, Nazi mad scientist vibe. 'What if' kits aren't for everyone, but if this kind of thing appeals to you, you won't be disappointed with MiniArt's latest release
Some of the details of the completed kit and Andy's handy work up close...
The whole whirlybird in a whirlwind walkaround...
I think a lot of people were quite surprised when MiniArt announced their “What If” series, wondering just what they'd create. Well, so far we've got big Russian balls and now German flying pogo sticks. I can't wait to see what mad contraption they come up with next.

Highly recommended
Andy Moore
If you like this kit you can pick one up from Miniart's distributors - See the closest to you on the MiniArt Website.


