Lukas is progressing with his neat build of MiniArt's new 1/35th scale B-type Military Omnibus kit. He has given us an in-boxing of the kit, and now he pauses to show us the way he has made his version in part I of his build today...

In-Boxed: B-type Military Omnibus
From MiniArt Models
Kit No #39001
1/35th scale
Product Link on the MiniArt Website
Previous parts of this story...
- In-Boxed: 35th scale B-type Military Omnibus from MiniArt Models
- In-Boxed: 35th scale B-type Military Omnibus from MiniArt Models
Hello there! After some struggles over application decals on my Eduard’s P-51 this, even though fragile, build proves to be rather rewarding. Especially once one reaches the point of weathering and like myself, begin to picture how it will look in the end.
I will keep this article rather quick as the chassis should be anyways.
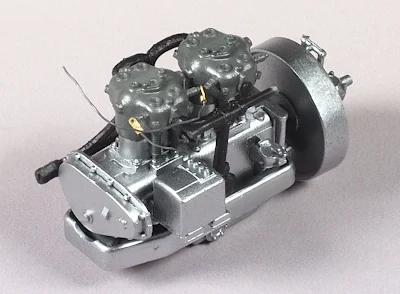
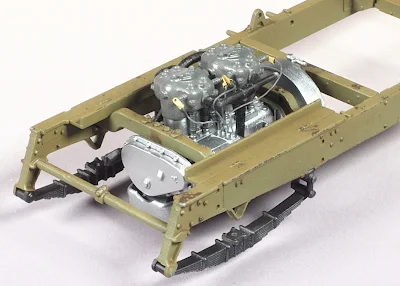
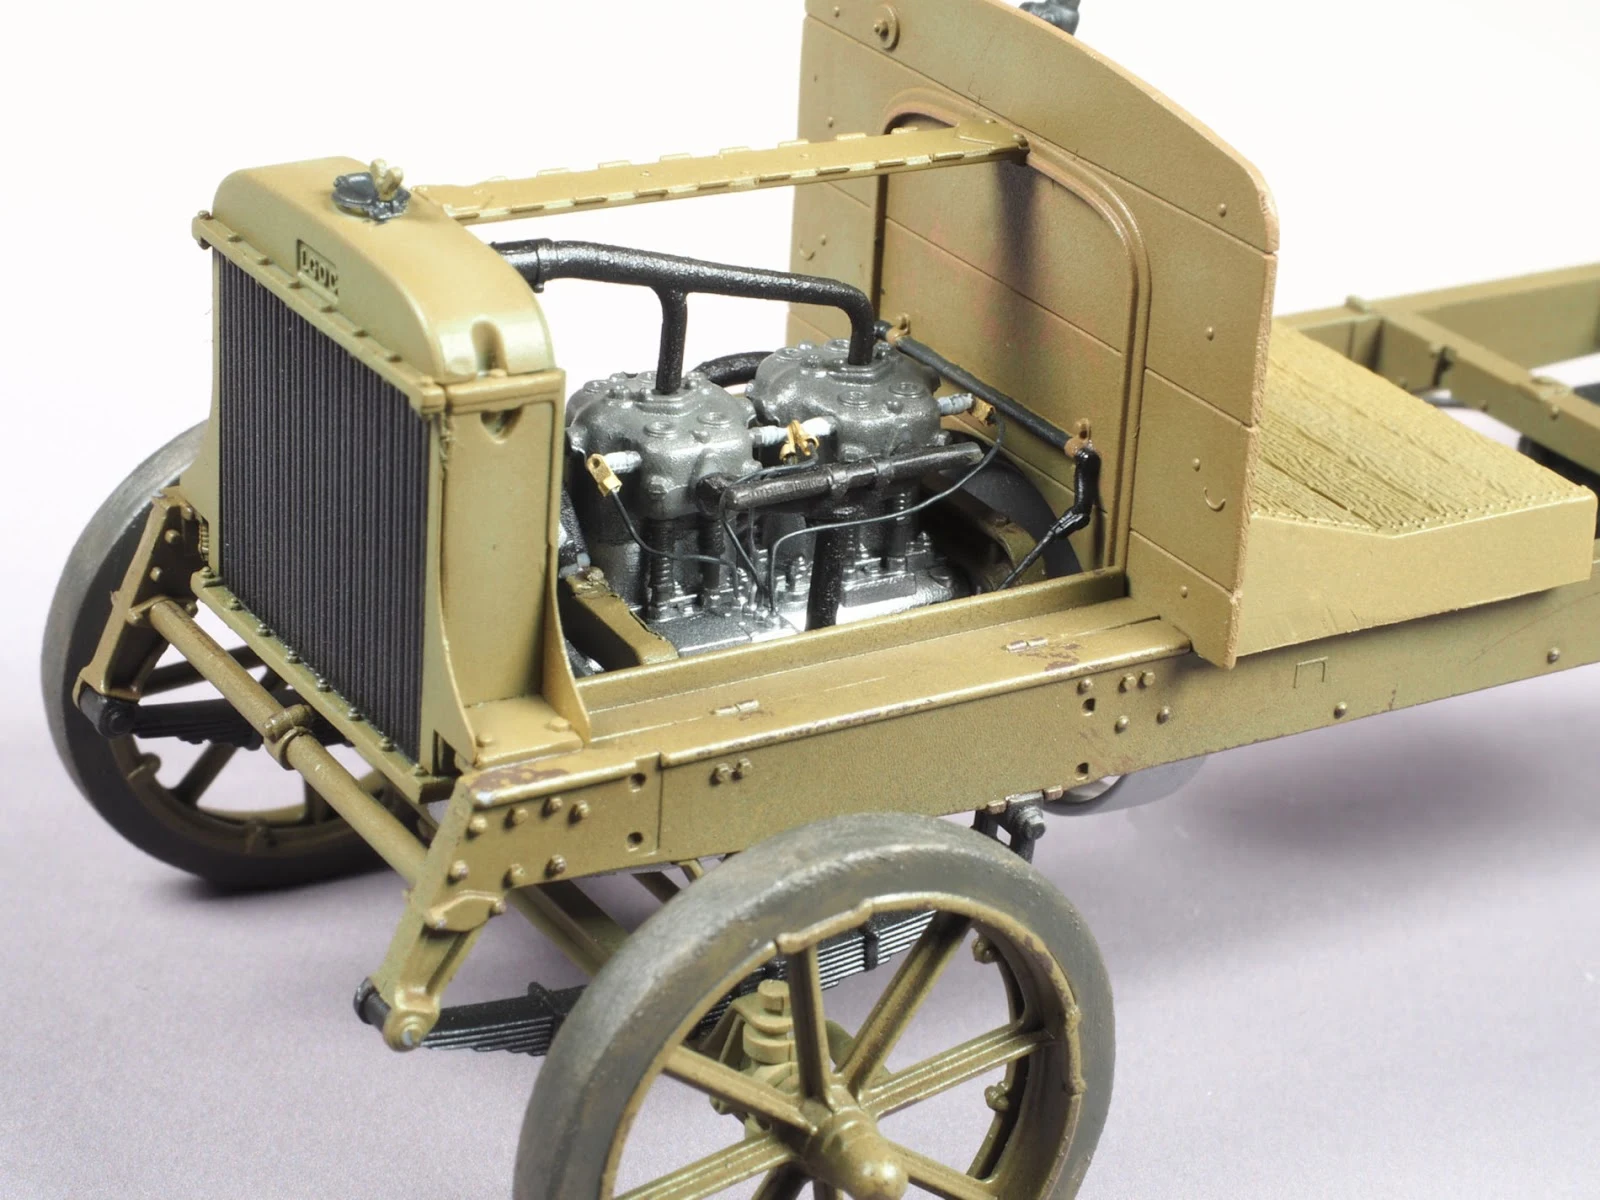
I began building the engine. A handful of parts, some added wires and provided PE parts make it into a good looking replica of its power plant
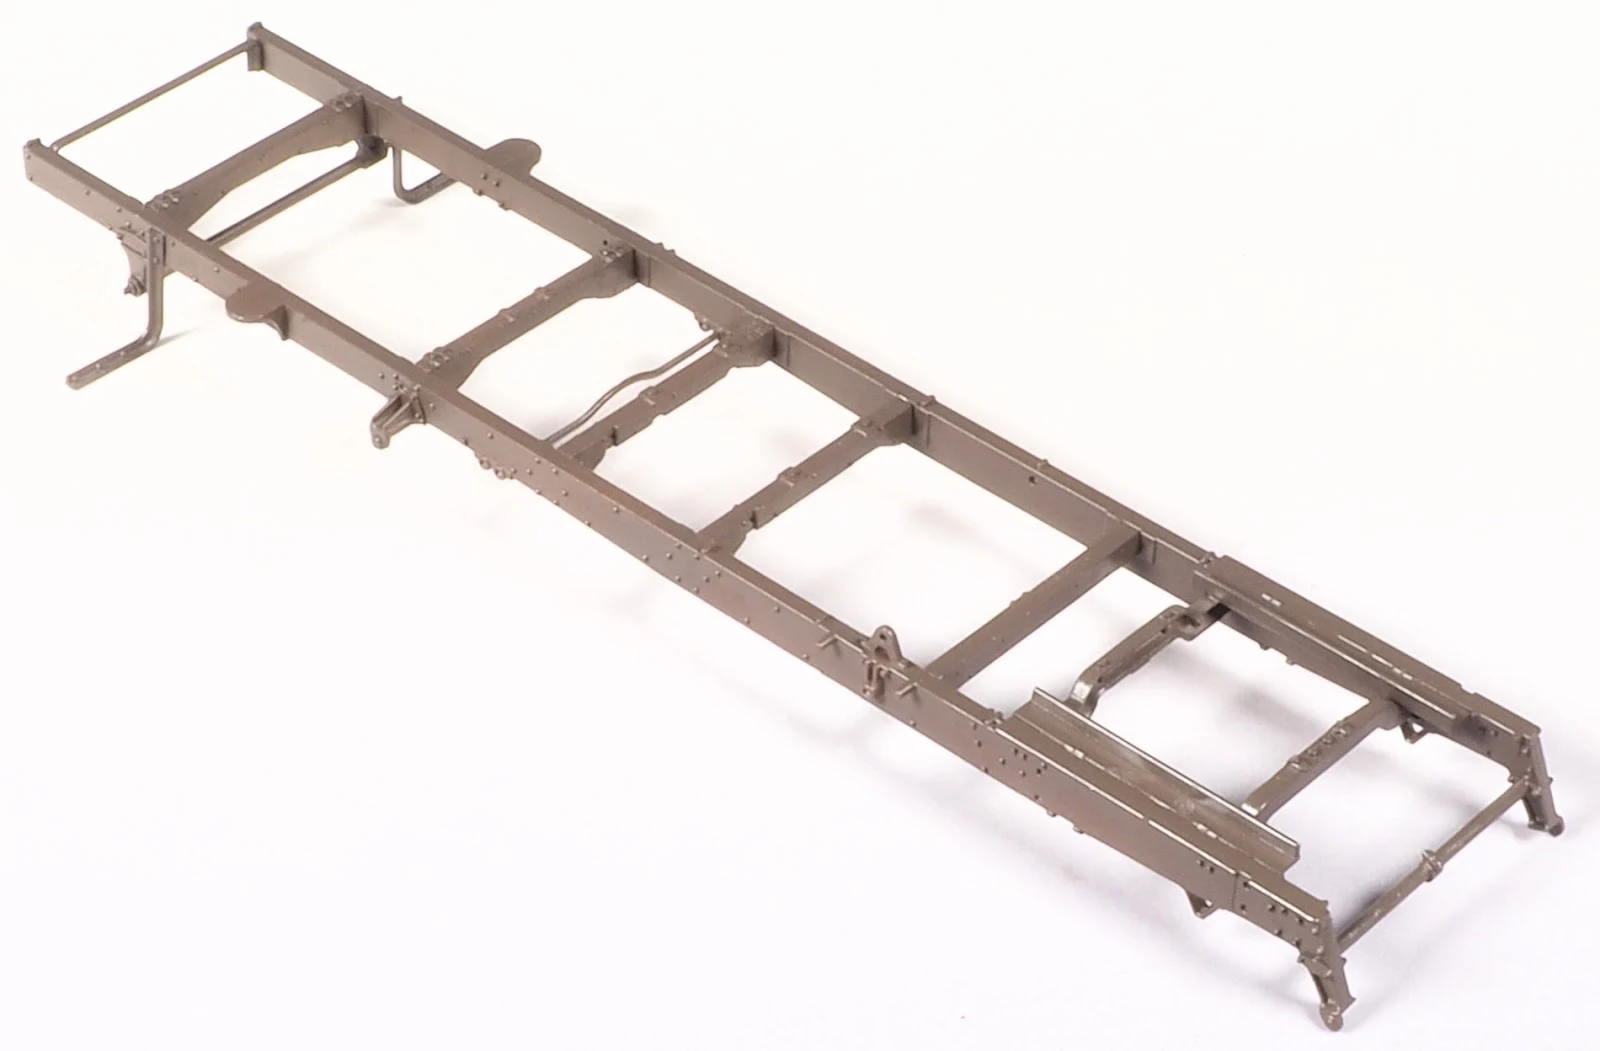
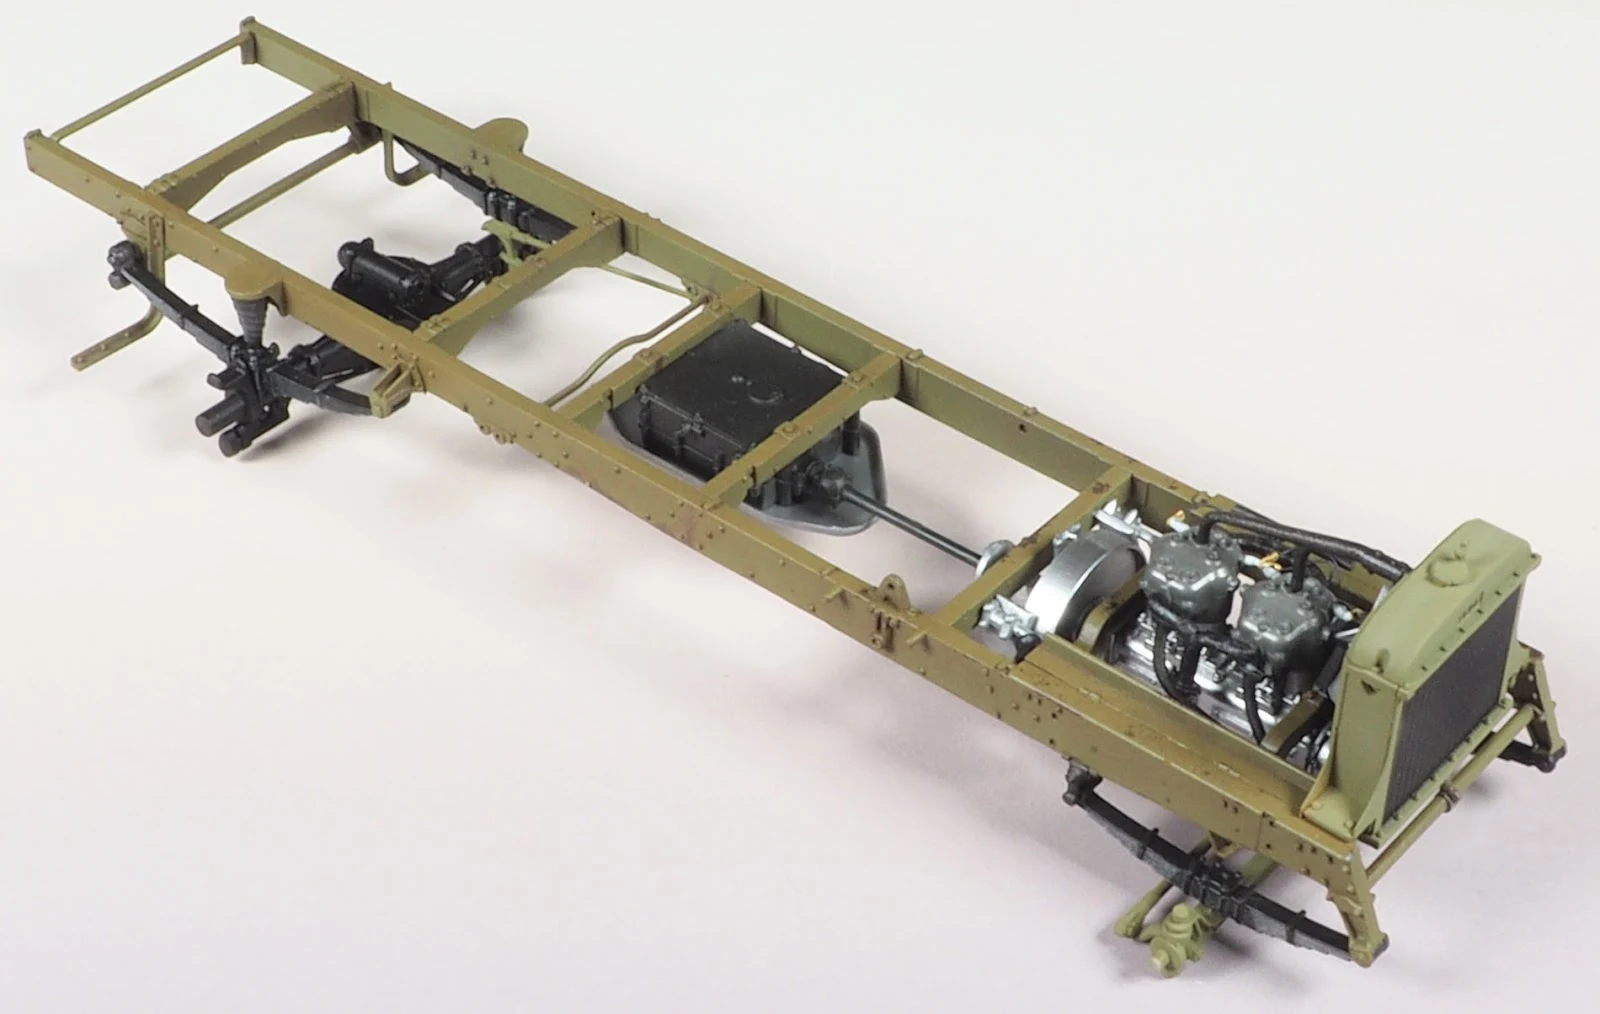
Building chassis frame is rather tedious with the amount of part involved and it requires a large portion of precision to keep it straight and aligned for further steps
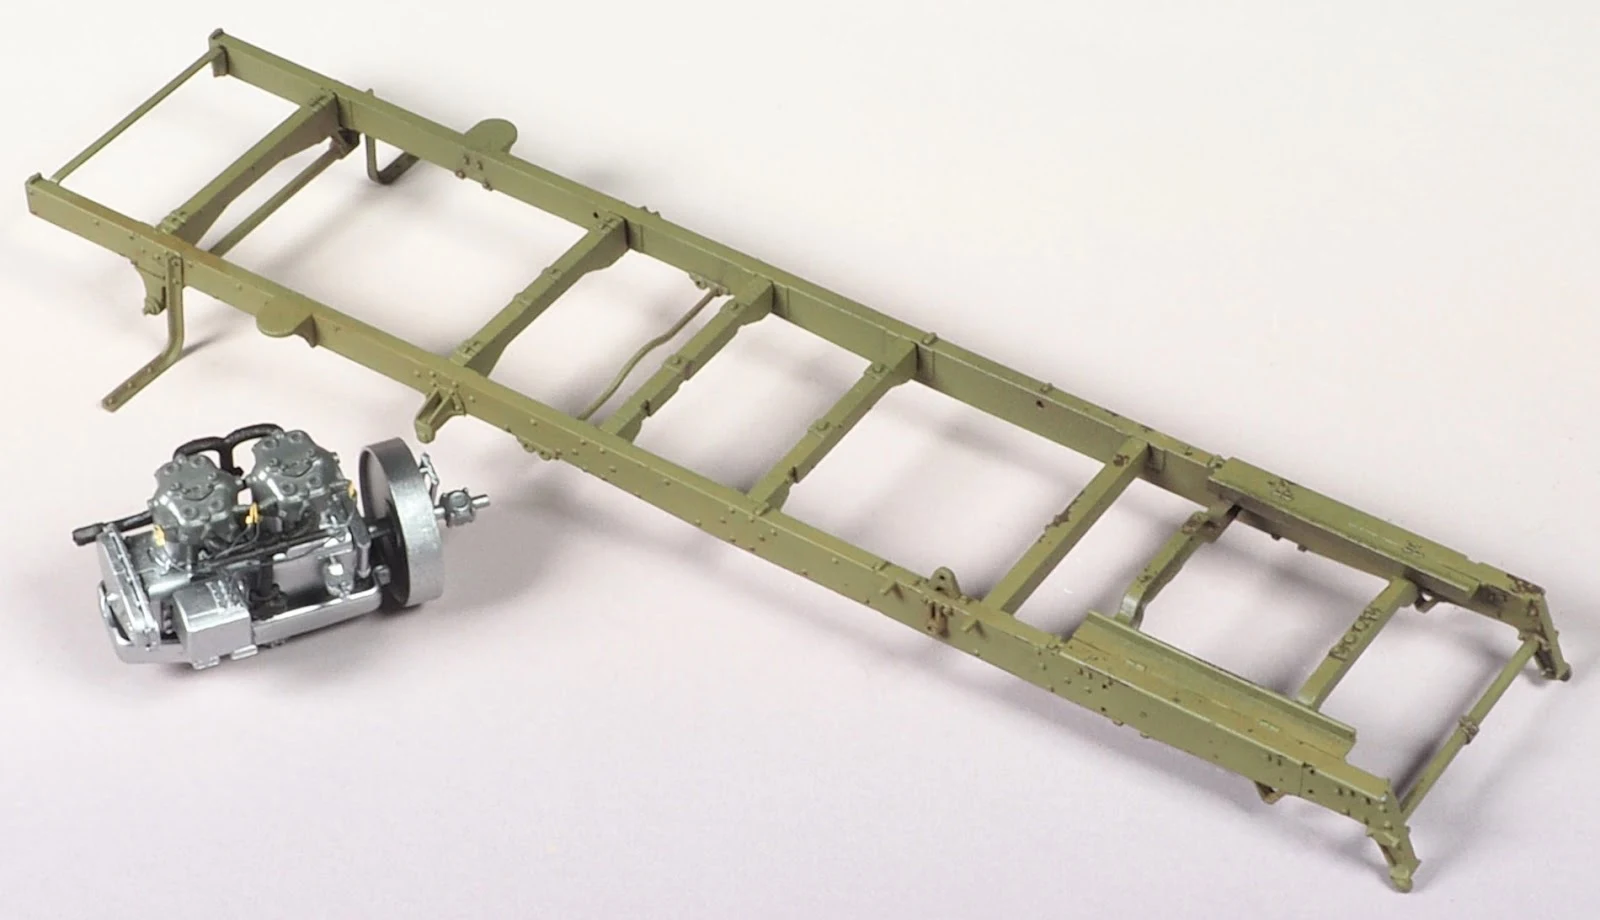
After painting it with chipping based colour (I mix Mr.hobby white surfacer toned by Mr. hobby C range to achieve this chipping shade, see above) I applied a coat of Tamiya’s khaki over a layer of hairspray.
Then chipped to my liking.
Parts ready for subassembly. I decided to do general weathering when all big parts are attached together
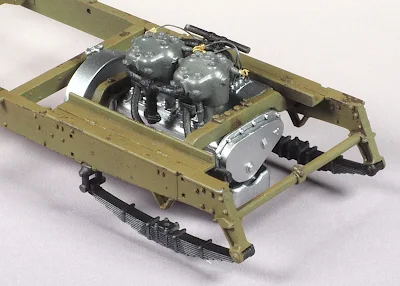
The engine in place, the suspension was next
While working on chassis I already prepared parts for axels and front radiator
Test fitting the radiator before a coat of paint
Partially weathered chassis with fresh radiator. I like that brown hue added by oils and in my mind making it more “khaki”
The bulkhead was painted in a light wood colour before painted with camouflage colour and chipped.
Radiator, bulkhead and engine pipping in its place
Rear axel in MiniArt’s detail
From below before weathering
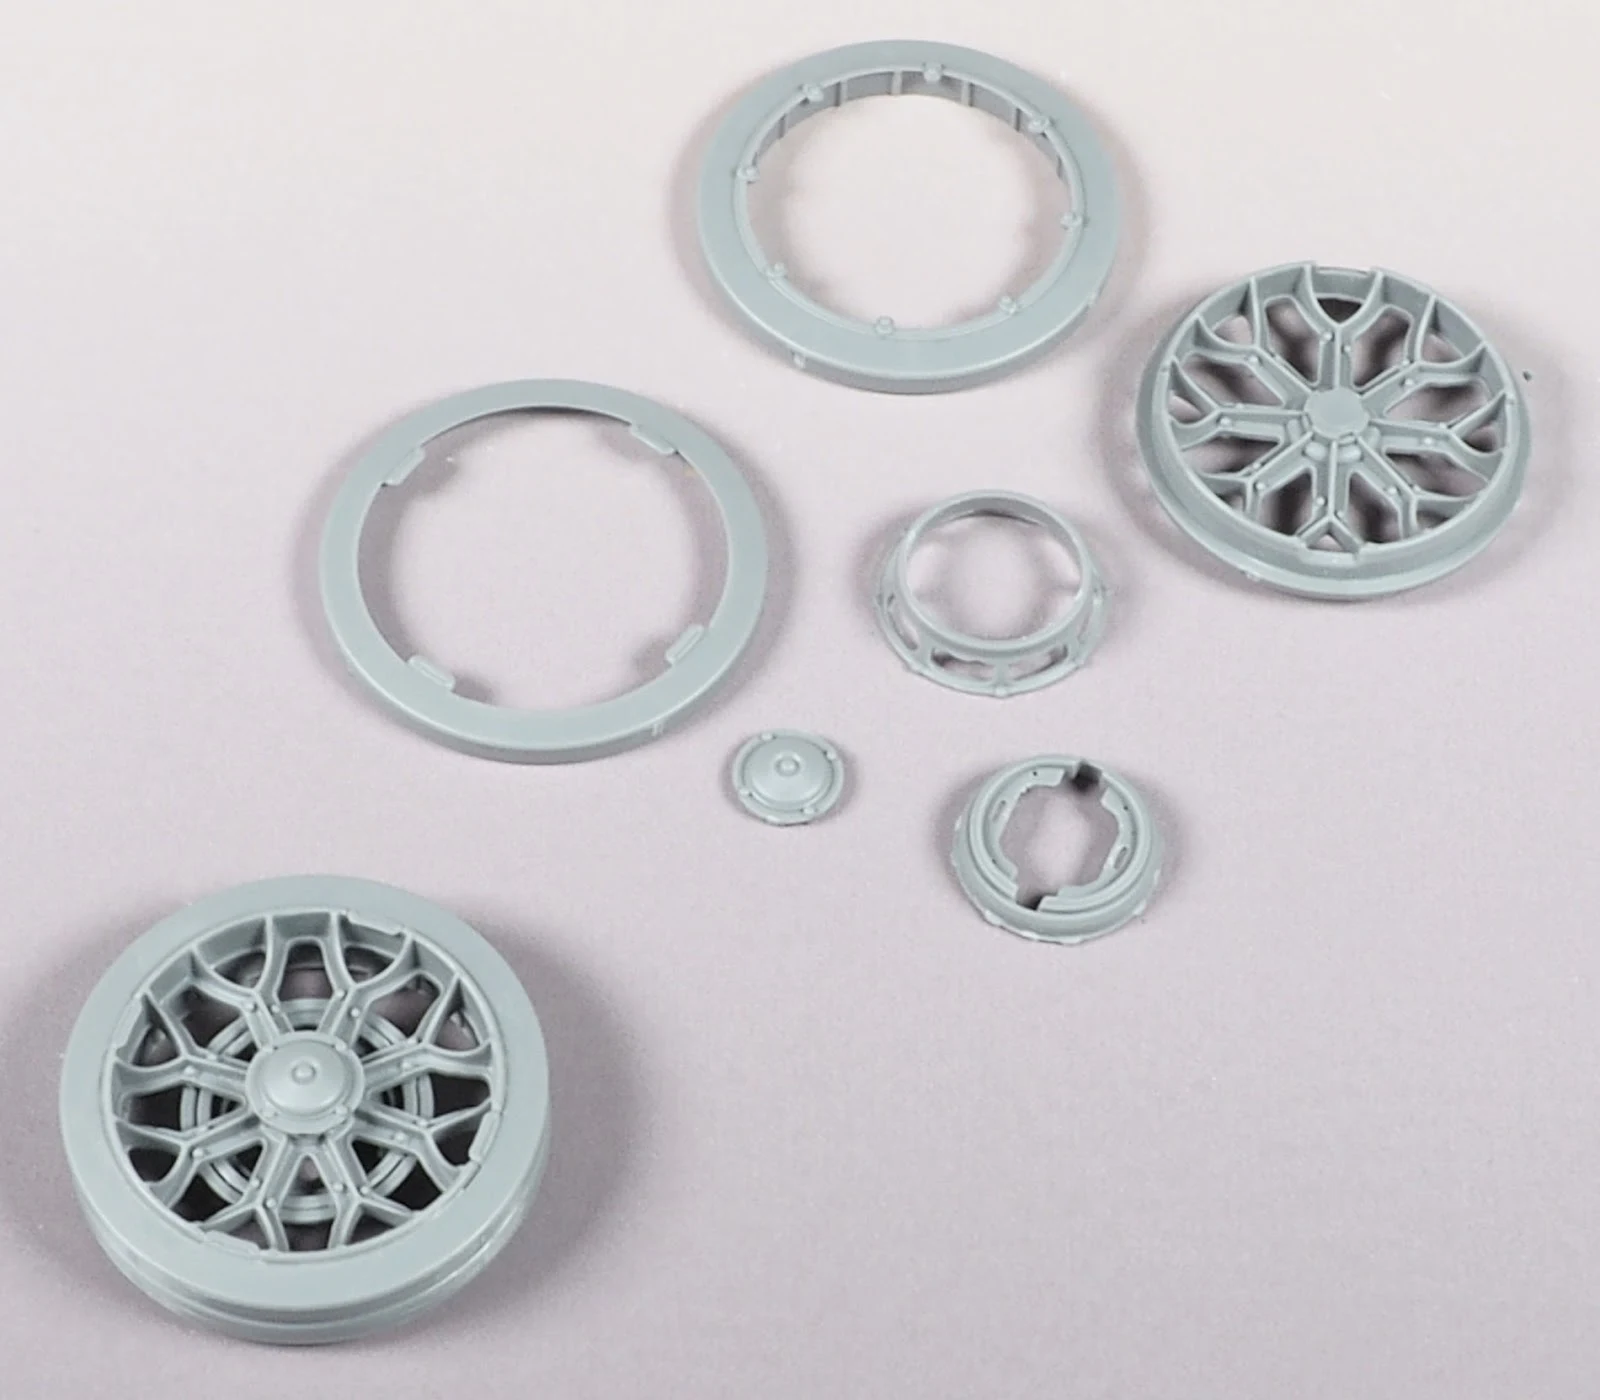
As above, while working on other parts I got to do some wheel assembly. Rear-wheel is made out of 6 pieces
While front wheels are made out of 3. All that is needed is to sand off the seem after glued together. I barely had any as I used Tamiya super thin glue and melted plastic filled the gap.
Obligatory test of how it will look like when on wheels
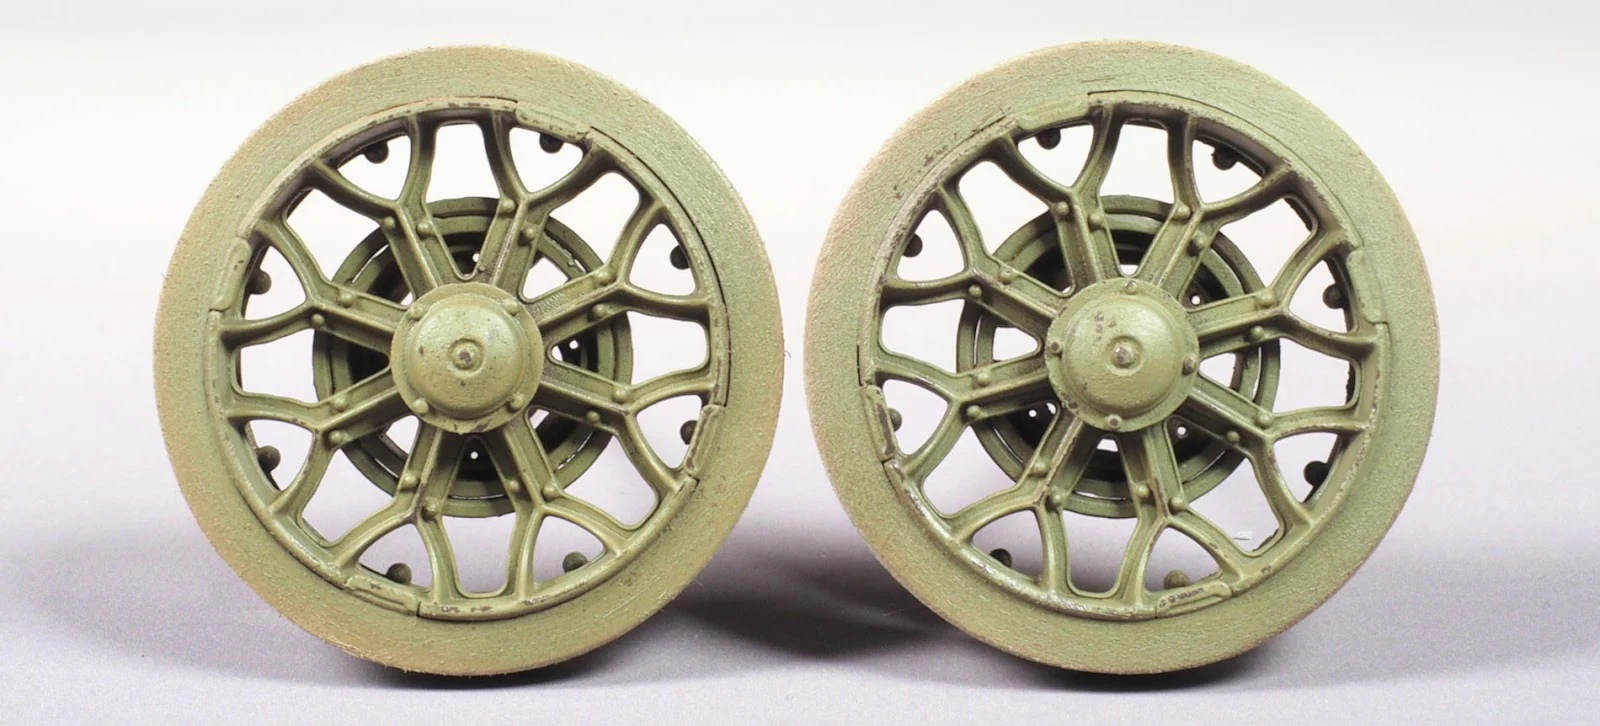
I roughen the tyres to show them hard-worn
...And then proceeded with painting it and chipping it the same way as the main frame
When this dried I brush painted the tyres with a mix of acrylic paints and of course tested its look again
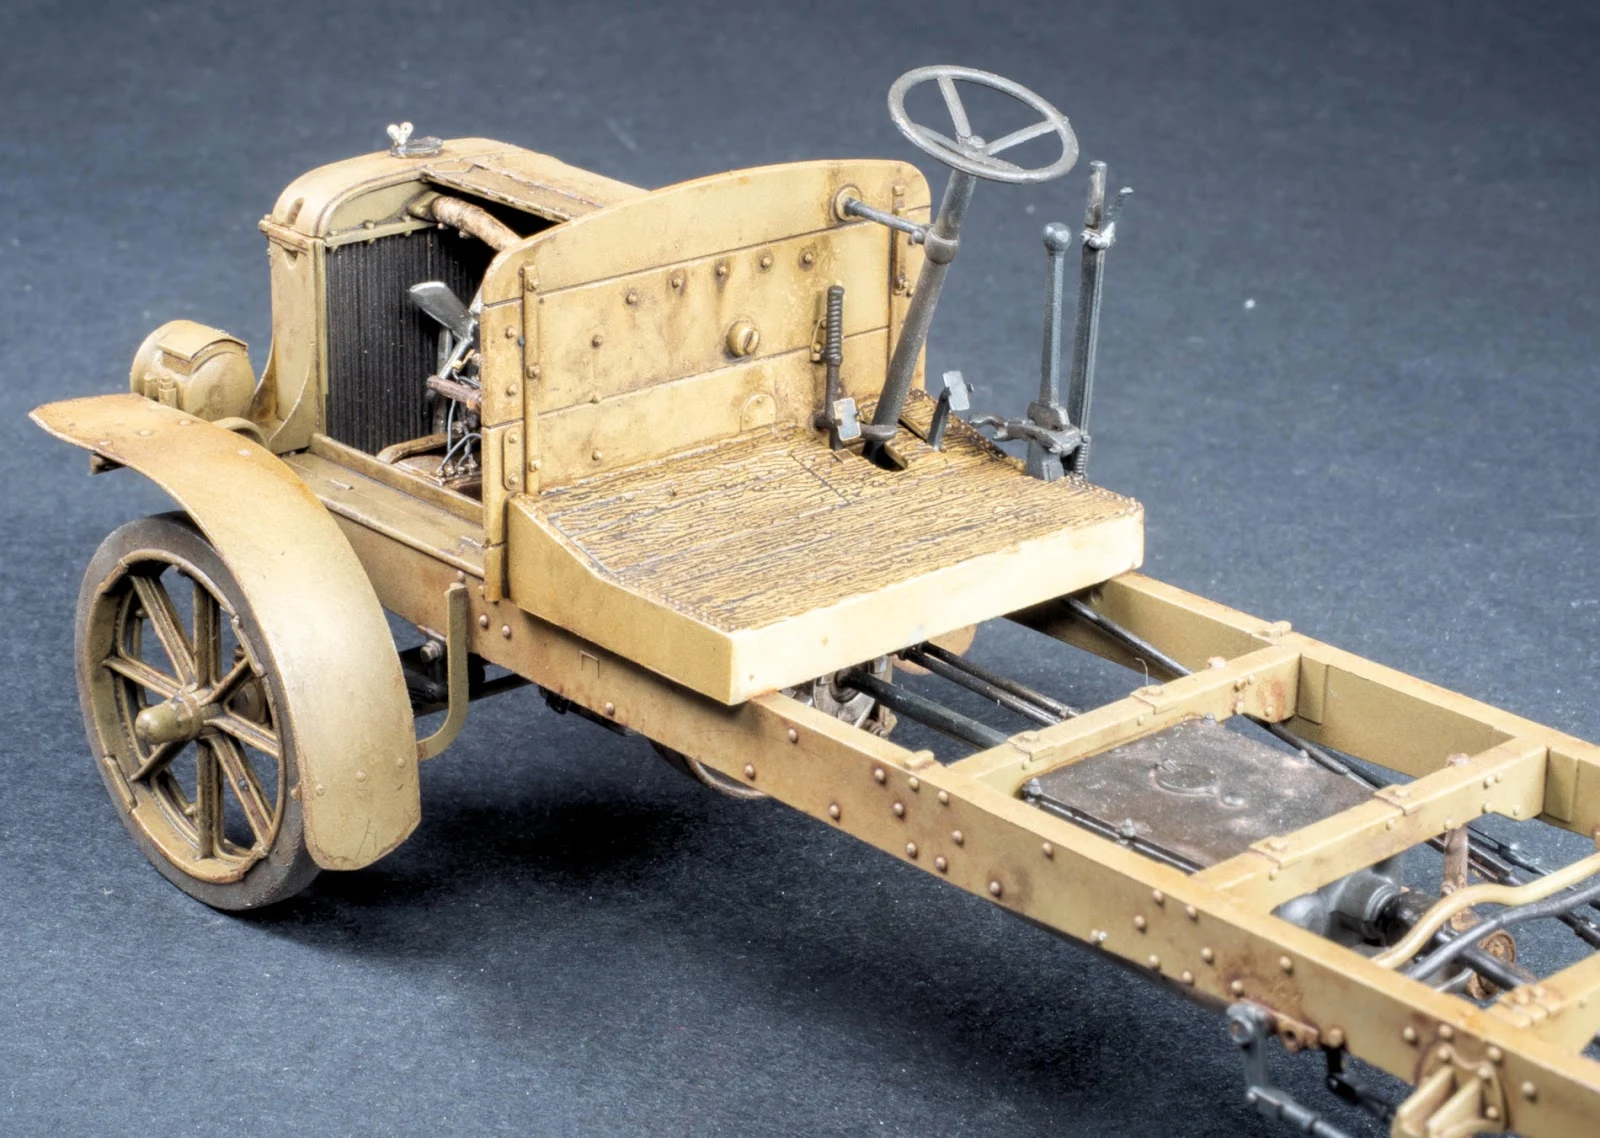
Drivers office floor and steering wheel attached and still testing the wheels…
And now, the part where it is getting exciting. For two reasons actually. One, attaching mudguards, headlights and other little things require an extreme level of caution so one doesn’t break anything and second, I started with general weathering inside of engine bay and underneath the vehicle.both mudguards added with a closer look to the engine hood. Here you will see little mistake - it doesn’t close properly. Easy to fix but I only found after I glued it and later on when compared to pictures realised it should have been closed all the way. Well, field damaged it is.
Wethered underside, a specialty of mine to bother with places no other people look at
Weathered cabin and black background. Something else you will notice and something I am trying to work on since the new camera arrived. I feel like going back to white will be the case in the end.Here is the final chassis completed as far as I can at this point. There are still a few little parts to be added to this assembly, but I will only attach them when the rest is in place as it’s too fragile and I would definitely cause more damage.
...And here is what’s coming soon in the next part of this story.
Thanks for lookingReview Pt II: 1/35th scale B-type Military Omnibus from MiniArt Models
Lukas
Thanks to MiniArt Models for sending this kit to Lukas to review & build.


