Hands-on tutorial video review: VMS Pigment Jockey
From VMS Supplies
Product Link on the VMS website (scroll down for a 20% discount)
For a lot of modellers VMS may not be an overly familiar brand however for those of us who have heard of them you will know there is a buzz growing around the brand.
Items 1 to 5 cover the Earthy tones in the line. These are Light Earth, Brown Earth, Sandy Earth, Dark Earth and Red Earth. And please let me apologise to the people screaming at the screen for 4 and 5 being out of order in the picture. Please forgive me!
Product 6 to 9 is the range of the rusty tones. Track Rust, Medium Rust, Fresh Rust and Light Rust. And thank goodness I was able to count in this line-up.
The final colour in the line is number 10 and is a Steel Metallic colour.
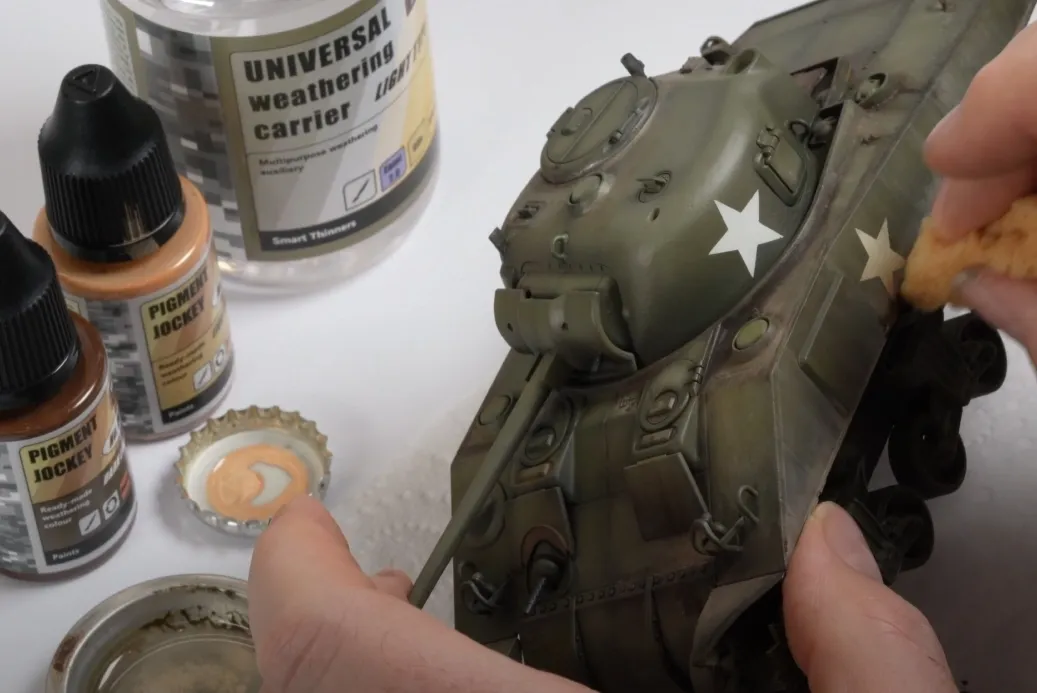
Interestingly the pigment jockey line was developed in consultation with Martin Kovac. It’s marketed as a ‘reversible weathering liquid’, so if you read between the lines that means you can reactivate it using an enamel thinner (of which VMS have their own line under the name of Universal Weathering Carrier).The product is used for splattering, streaking and to use as a wash. It can be thinned using an enamel thinner (or VMS’ Universal Weathering Carrier) and can be combined with pigment powders to create volume in your effects. The pigment jockey acts as a carrier for the pigment powder and will help it bind to the model surface.
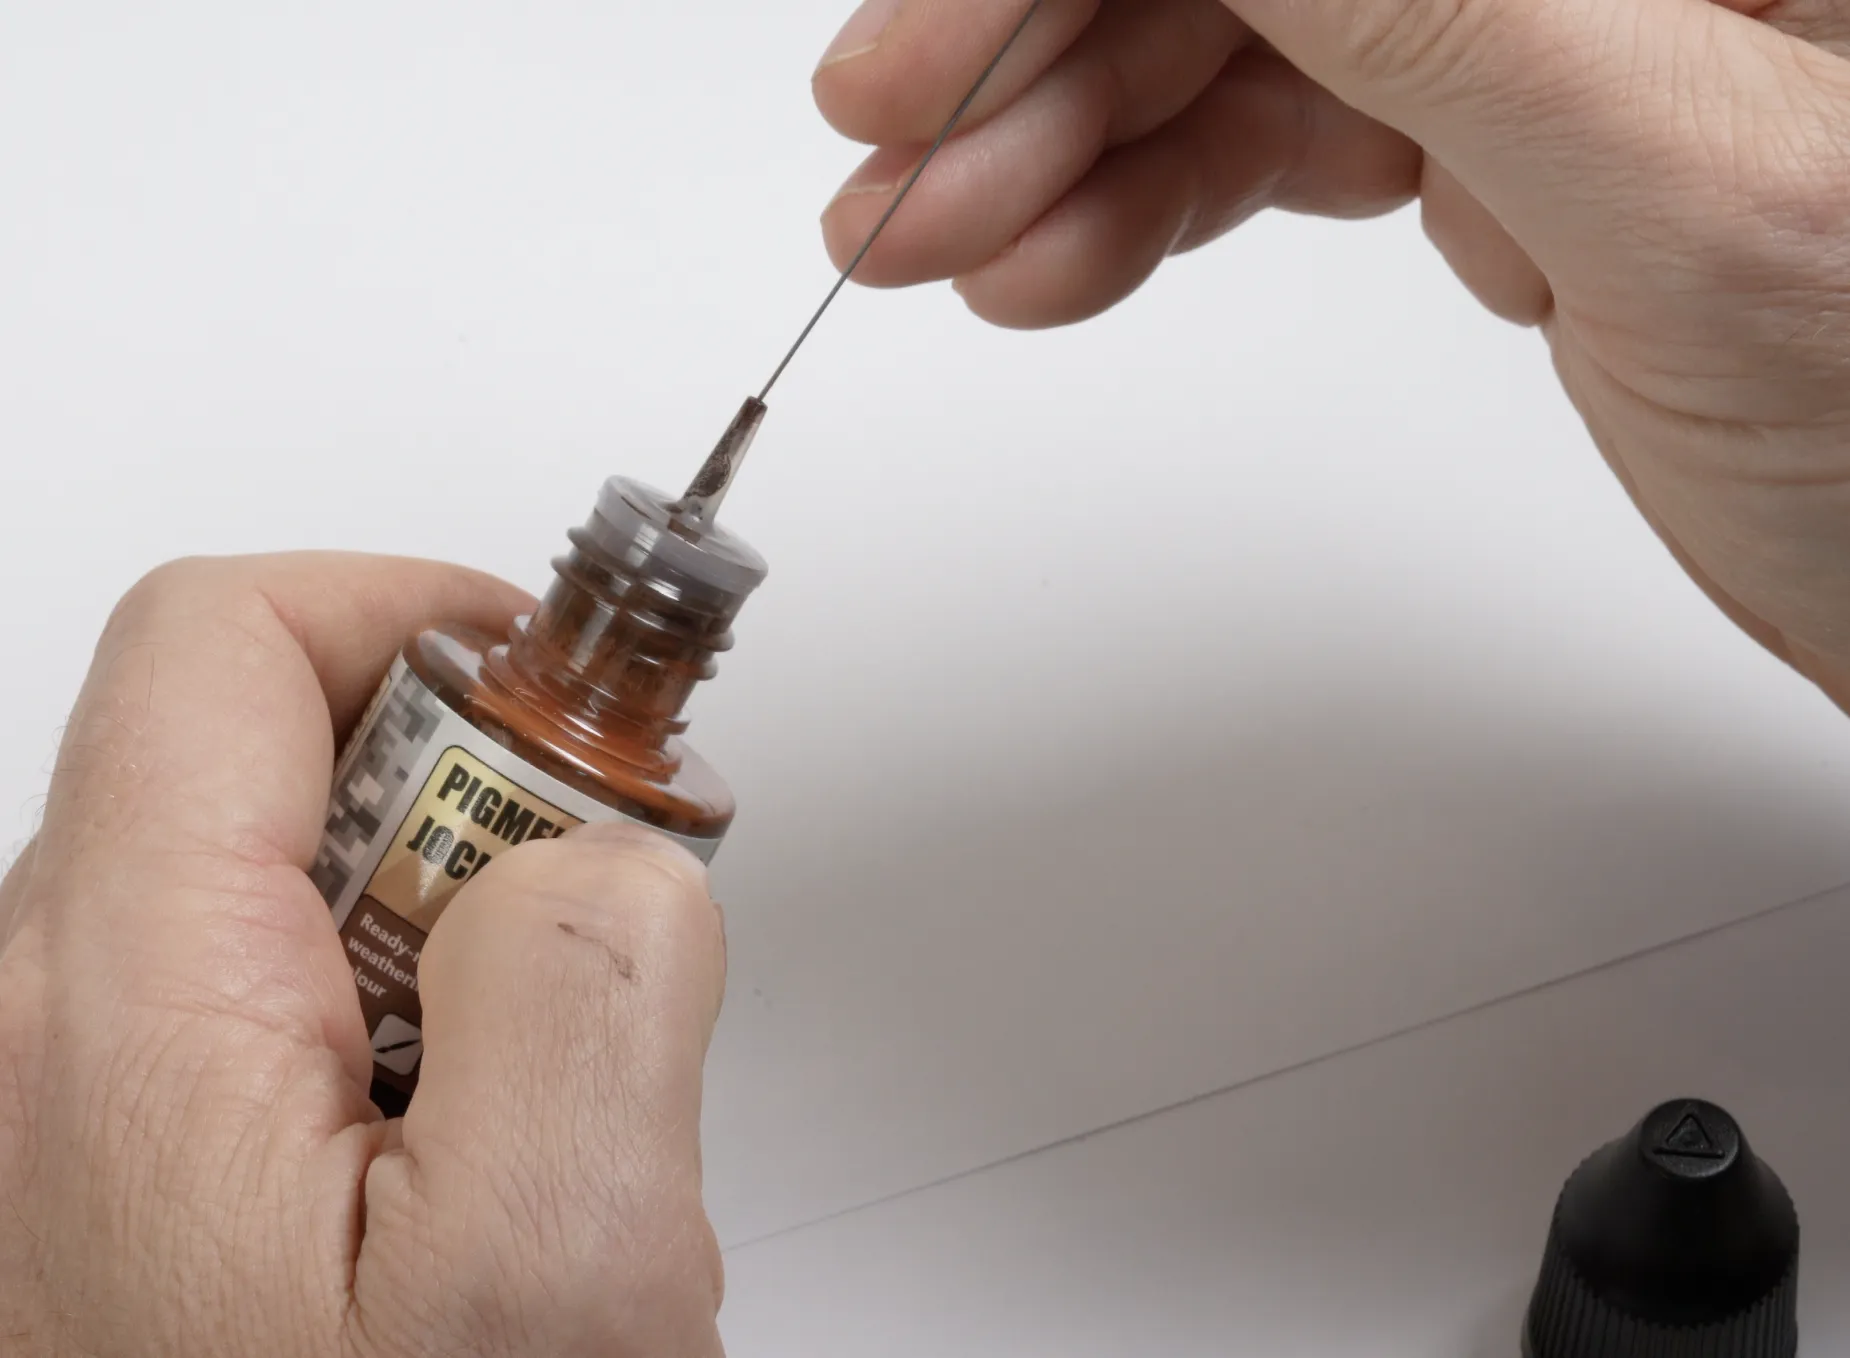
The liquid comes in a 30ml, spill resistant, screw top bottle. The dropper style of bottle is very handy for distributing and using the paint from a workflow point of view. Downside of a bottle like this is it is easy for the nozzle to clog. This was the case with a number of the bottle I had however a small piece of wire or a needle was all that was required to clear the blockage.
But there’s no review better than actually seeing the product working, so I thought I’d give it a try. I’ve created a video below to help showcase some of the techniques I used to achieve the results. So, for those of you interested I’d encourage you to take a look.
A closer look at the rusty plate shows some interesting tones in the surface. The effect was achieved using three of the rust colour tones. The Track Rust, the Medium and the Light Rust.
I tried the rusted effect on a different area only this time using different base colours and was quote happy with the results for a first attempt.
For this section I first began with the Light Earth, only this time the paint was feathered using a sponging technique. By simply distributing the paint in a dabbing motion on a small piece of sponge I am able to create a realistic looking base layer of dust.
The effect is enhanced with some speckling as well as using the dark earth colour in a smaller area along that bottom edge.
The rear section of the tank is where the splattering or speckling is focused. This is the area where the most mud and debris would have kicked up off the working tracks, which is why this technique works so well in these areas.
The effect is achieved by loading the paint brush with the paint and then flicking it across a toothpick or an airbrush needle to create the splatters.
You can also mix the pigment jockey in with pigment powder to create greater volume in your mud effects.
The combination of all of the techniques really comes together at the rear of the model.
I continued to experiment with the paints on the other side of the model and was able to create slight variations on the finish with a little greater focus and refinement…but they all came about using the techniques I have mentioned.I mentioned combining the Pigment Jockey in with the textured pigments, and this seems to be where the product really makes an impact. VMS have their own line of pigments however I don’t have them to show you, so I used what I had on the shelf.
The effect in the image was achieved using a Vallejo pigment, made into a paste using the pigment jockey. When the paste had dried, I was able to scrub the excess away and refine the look to appear as clumping mud.
In this section a darker pigment is applied dry, and a diluted mix of pigment jockey and universal weathering carrier was applied to the pile using capillary action to wet the pigment. The pigment jockey should help bind the pigment to the model.
I continued to experiment with the Pigment powders only this time using another VMS product called ALKYD binders with the pigment. This was applied as a paste to the tracks, dried off with a blast of hot air and then using an old brush the excess paste is removed.
The various tones you see in the tracks was a result of using the Pigment Jockey product as a selective, diluted wash to alter the tones in the pigments.
There is a lot to like about what VMS are bringing to the table and what I have used I really like. I’ve mentioned many times their varnish is amazing, and I have been using that for some time now with excellent results.
Do they work? Absolutely they do! I was able to create some interesting and realistic effects using them. Would I be able to create the same effects using other product? Well yes, is the answer, but like with everything in this hobby we will have our preferences and what works for some may not work for others.
Clayton's video of this construction is up on his excellent YT page - Workbench Hobbies
Clayton has managed to negotiate a deal so you can try the VMS line for yourself. Go to the VMS site at checkout enter the code - "WORKBENCH-BONUS" for a 20% discount. This offer wont last forever and is limited to one per customer (minimum spend applies).
See more of Clayton's amazing works on his YouTube Channel, his modelling portal "Workbench Hobbies" or his FB page


